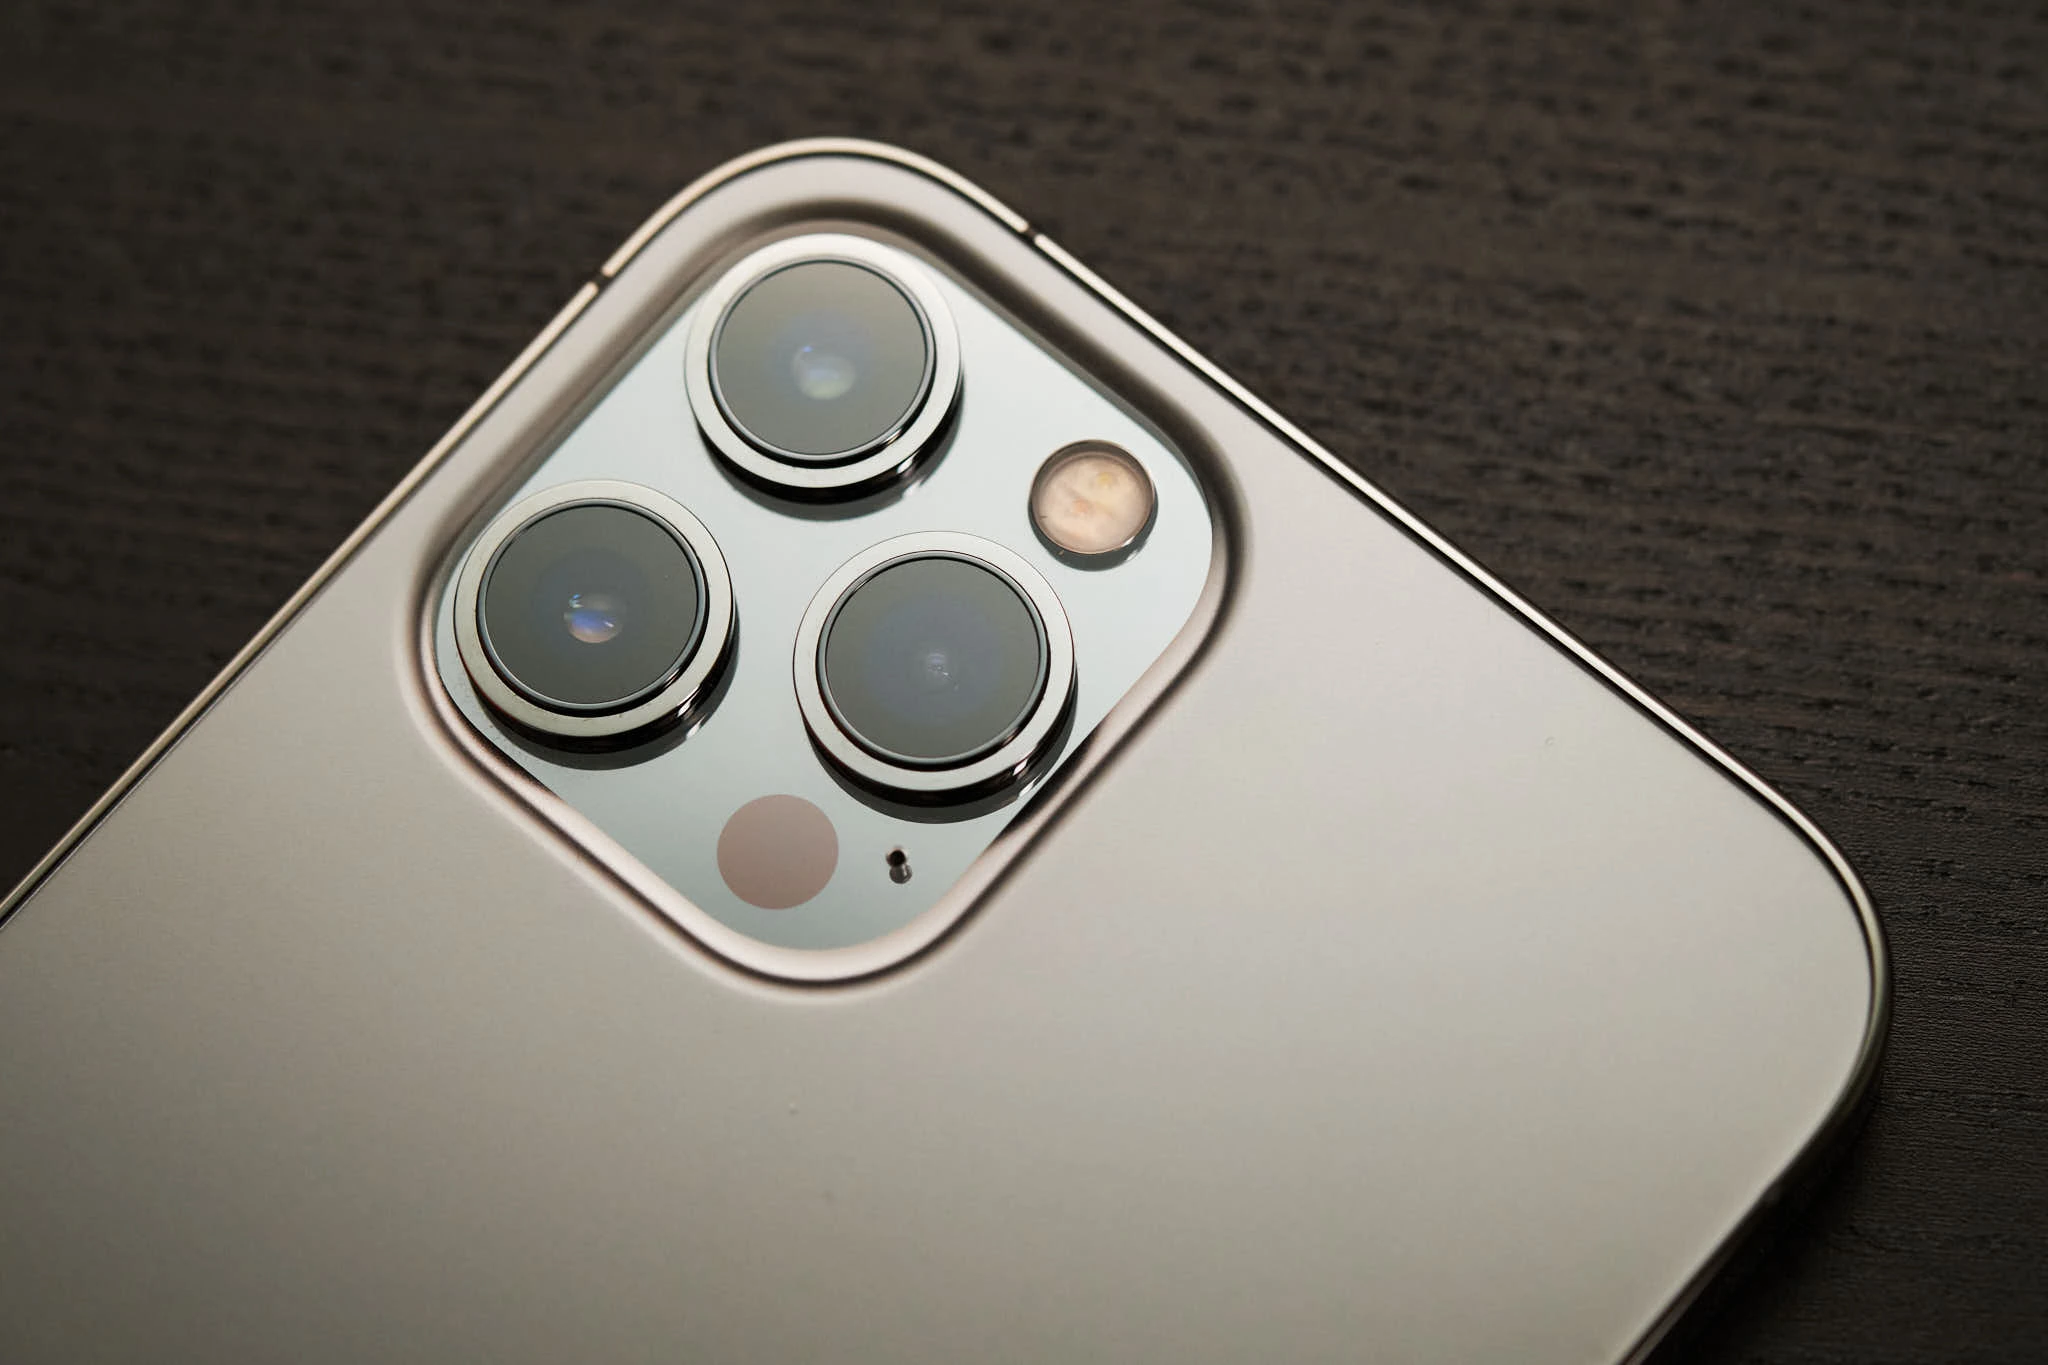
Apple ProRaw, a new starting point
Apple ProRAW is Apple’s latest technological addition to the smartphone photography industry and sets a new starting point for iPhone photography.
It is no mystery that smartphone photography is increasingly replacing cameras in many situations: I, having promoted it for at least 10 years, have seen a crazy evolution in this sector.
Smartphones are always in our pockets and are the perfect tool for photographing our everyday lives.
I was able to try Apple ProRAW for a month on the beta version of iOS 14.3, and what follows is my in-depth analysis from that period of use.
Why Apple ProRaw is a big deal
Shooting in Raw format has always been a prerogative of digital DSLR and mirrorless cameras. It is a “raw” format that gives you all the information available for processing after the shooting phase.
It is also true that shooting in Raw format has been available since the iOS 10 update, which made this possible only for third-party applications.
Why is Apple ProRAW a big deal? Because it brings this photo-processing capability to the native Apple Camera in an easy, intuitive way. There is no need to install additional apps.
Furthermore, the Apple ProRAW format contains more information than a classic raw file. Below I explain these differences.


Apple ProRaw explained
One of the big differences between a “classic” raw and Apple ProRAW is the fact that the latter adds all the information from computational photography calculations to the information captured by the sensor.
We know that, in recent years, Apple has improved the results of photographs taken with the iPhone thanks to improved algorithms. Thanks to Smart HDR, Deep Fusion, and Night Mode, it has managed to overcome the technological limitations of smaller sensors.
The Apple ProRAW file is therefore not like a classic raw file from digital DSLR and mirrorless cameras, which is saved directly by bypassing the processor’s computing system; instead, it is a file enriched with all the computational photography information.
We can therefore say that Apple ProRAW is a “richer” file than a traditional raw file.
Apple ProRaw dynamic range
Dynamic range is the ability to record information from shadows to highlights. The greater the dynamic range, the greater the chance of capturing both shadow and highlight detail in a shot.
One of the biggest “disappointments” on the part of my students in photography classes is noticing a big difference between what they see with their eyes in a high-contrast situation and what the camera captures.
In the current state of sensor technology, there is a limit to the amount of information obtainable with a single click. We cannot, therefore, expect to have the same “vision” as our eye in high-contrast situations (which, in any case, remains unique — photography is always a personal interpretation).
This is where new computational photography algorithms, such as Smart HDR, come into play. So imagine that when you expose the photograph with your iPhone, the smartphone actually makes a lot of exposures which it then merges together.
Now, thanks to Apple ProRAW, all this information is available to the user even in post-production.
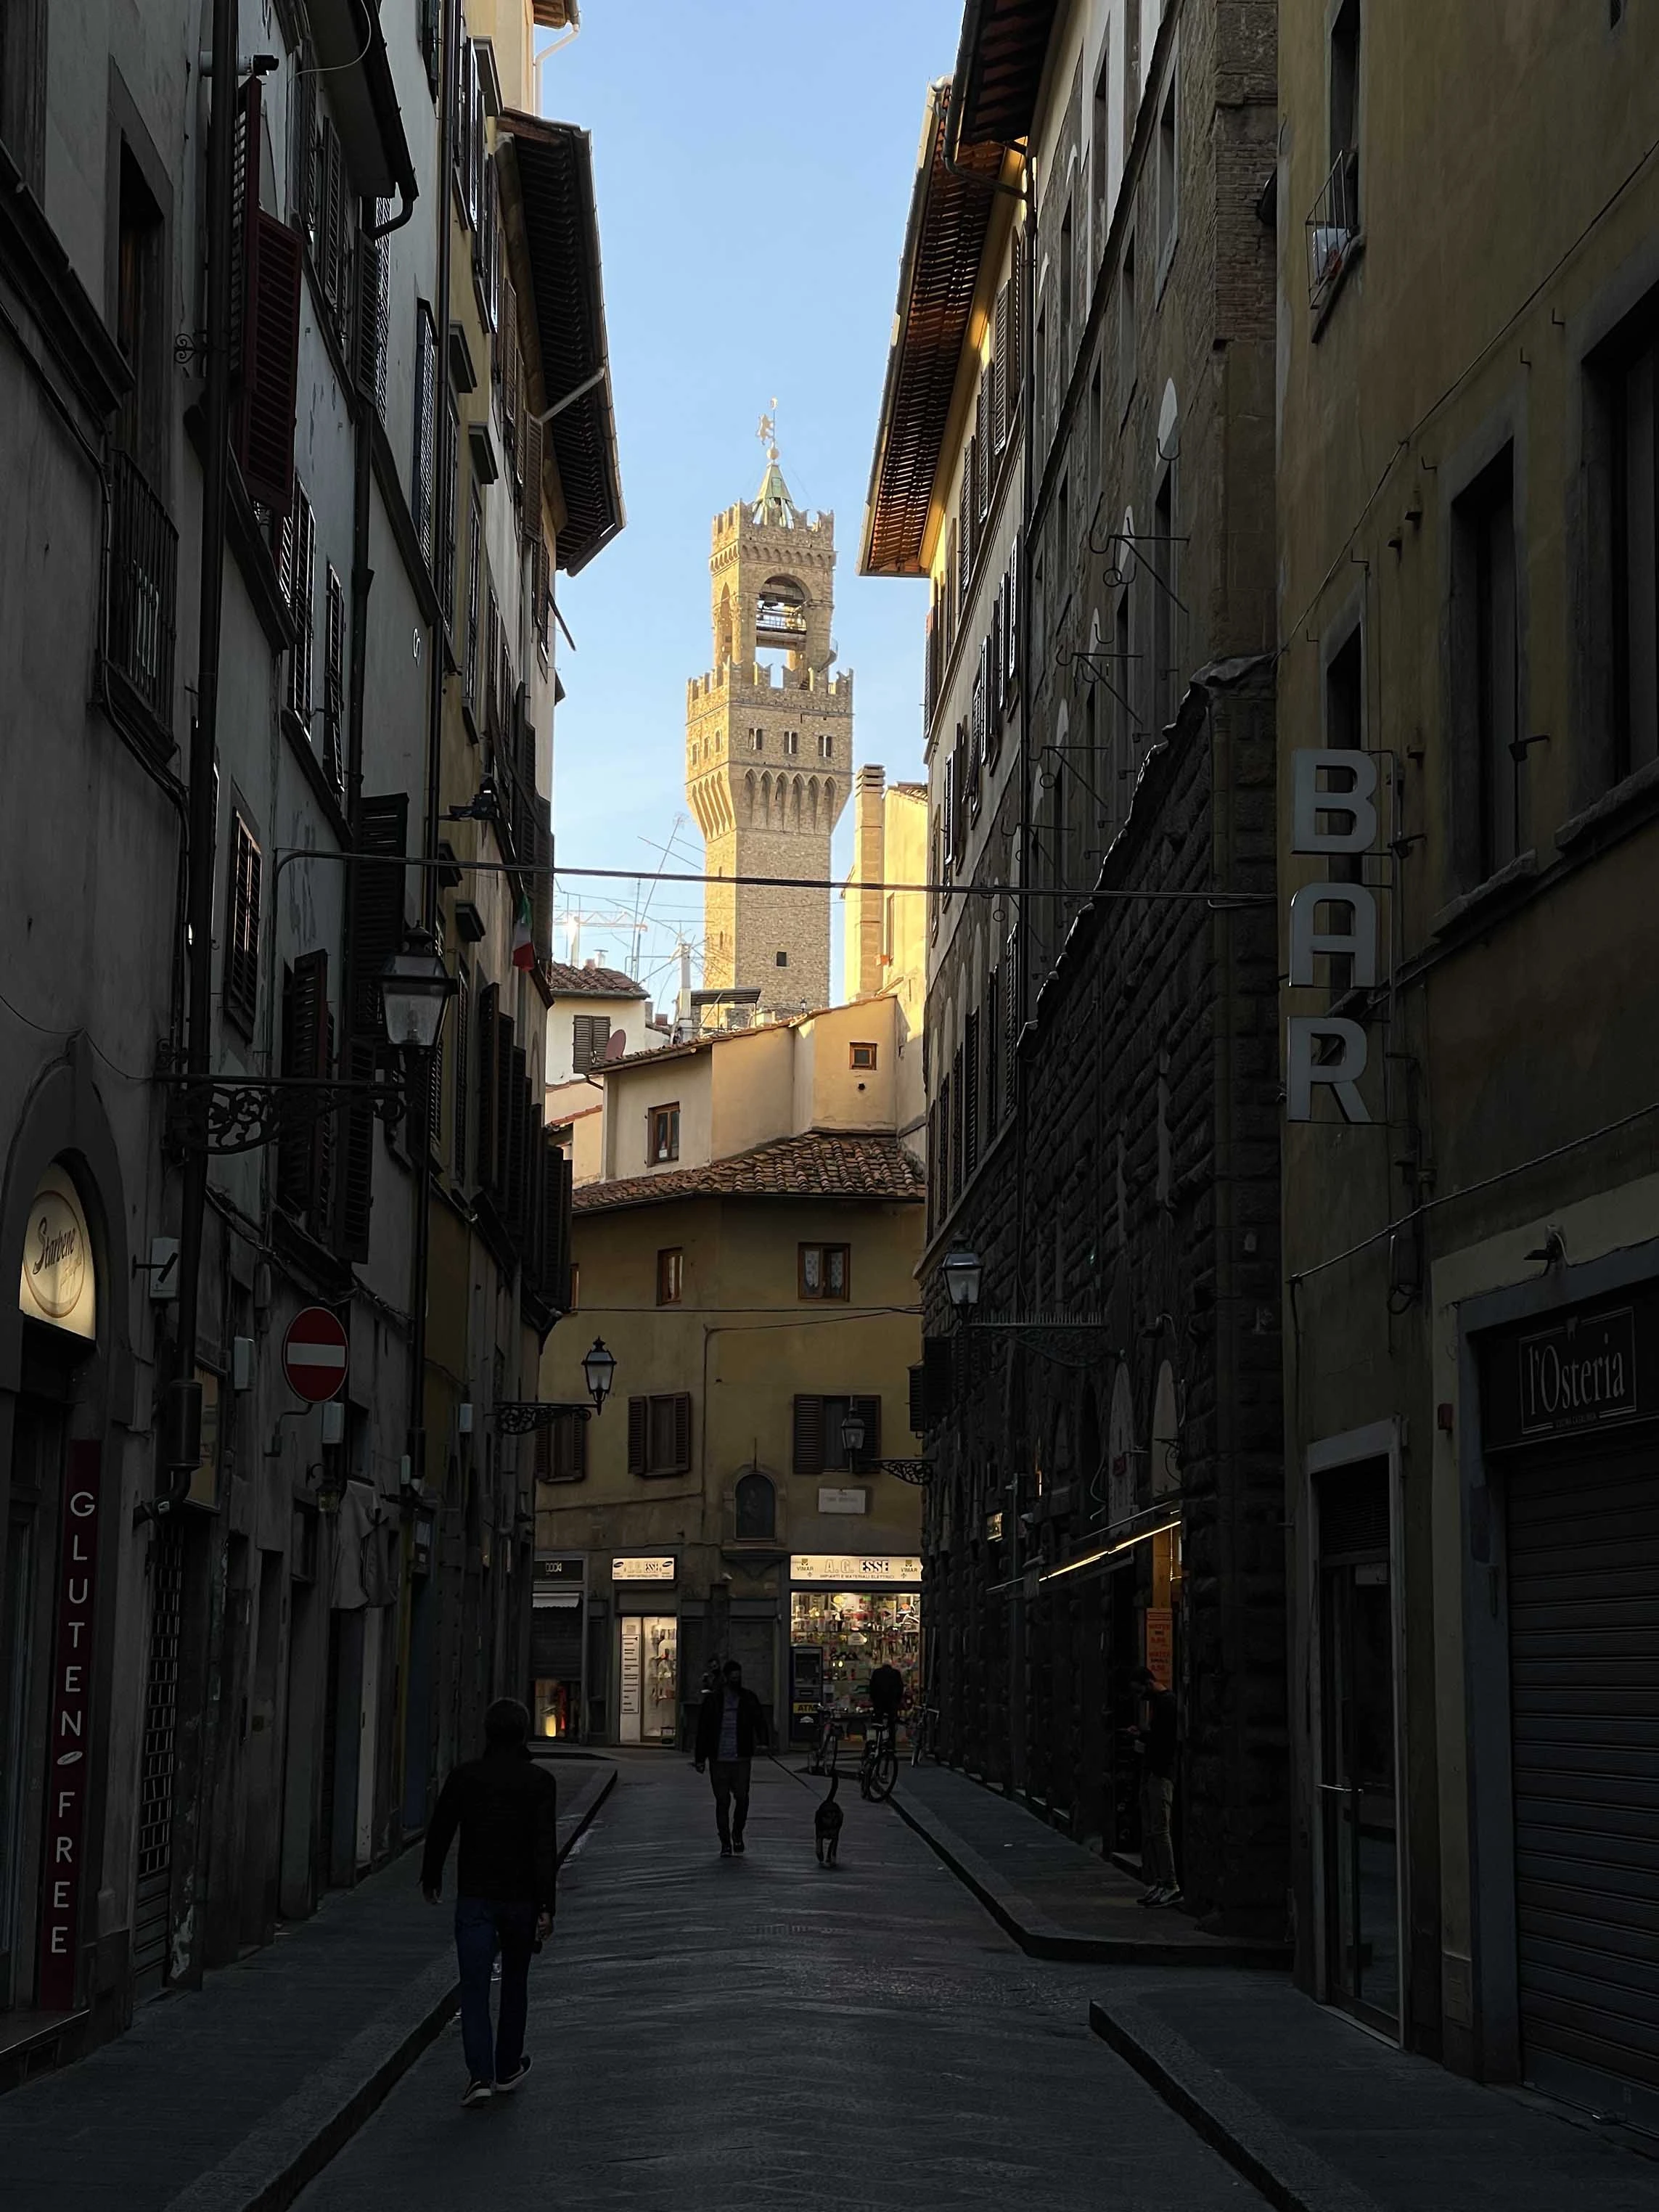
I wanted to do a test in a very difficult lighting situation: take a picture in an alley on a street in Florence where, due to its narrow shape, little light enters at the time I was taking this picture. In the background appears an iconic building of the city: the bell tower of Palazzo Vecchio by Arnolfo.
So I did an exposure for the highlights (that’s what I almost always recommend with Apple ProRAW). The result of the photo is what you see on the left below. Then I worked directly in the iPhone Photos editor (which at the moment is one of the best solutions for editing Apple ProRaw photos for free), and you can see how much information I was able to recover in the shadows! (second photo) This information is present in the file and is there for you to recover. The third photo was edited with Capture One Pro.


Apple ProRaw details
At the moment, Apple’s approach to ProRAW is to process Noise Reduction directly during the calculation phase using computational photography.
What we get is therefore an already clean file without any digital noise. On the one hand, this facilitates the subsequent work for a novice user; on the other hand, however, there is a lack of general sharpness when we zoom in on the photograph a lot: we will notice that all the details are “washed out”, which is typical of files that have been excessively cleaned of digital noise.
Let’s say the path Apple took in this case was to prioritize a clean file over one with more details. I think the choice was due to the usual destination of smartphone photographs: social networks.
If we think that, on Instagram, a picture gets resized to 1350 px on the long side, we understand how, in most cases, it is almost impossible to zoom in enough to notice the finest details on these social networks’ posts.
If you are a lover of detail at the expense of greater noise in the file, in this case you will have to look at other solutions, such as the Raw taken by the Halide Camera app.
I point out in any case that the correction of vignetting and the natural distortion of the lens (not the perspective distortion!) are already applied in the Apple ProRAW file.

Apple ProRaw: are there any slowdowns when using this format?
It was one of the questions I asked myself, especially with digital cameras, where the burst mode often changes if I only shoot JPG or shoot JPG + Raw at the same time.
I must say that when I enabled Apple ProRAW during the portrait session I did with the iPhone 12 Pro Max, I did not notice any slowdown compared to shooting in the basic HEIC format.
This is proof of the great computing power of the new Apple A14 Bionic chip, combined with more RAM in the iPhone 12 Pro series: we have no slowdown when we shoot in Apple ProRAW.
Apple ProRaw: how to edit the file for free on iPhone?
What is the easiest, fastest, and free way to edit Apple ProRAW photos? Use the Apple Photos application. Apple has therefore updated its application to allow us to edit Apple ProRAW files more easily and quickly.
At the moment, it seems that the native Apple Photos application is the one that recovers more shadow detail than Lightroom CC and Capture One Pro.
It must be said, however, that in many situations with gradations, such as in the example of the skies, artifacts (banding) can be seen, which is not the case in the developments obtained with Lightroom CC and Capture One Pro.
Apple ProRaw, some problems that may arise
I noticed banding artifacts in some photos, especially those with shades of color, such as the skies, when I shot with Apple ProRaw.
To remove these defects, you need to enter “Edit” mode in Apple Photos and slightly recover some of the exposure and highlights. This usually helps to make this defect disappear.

Apple ProRaw in Lightroom CC and Capture One Pro
What other software besides Apple Photos can I work with Apple ProRAW files? As a universal Raw DNG format, all software that supports it can open these Raw files.
I have personally tested the Apple ProRAW files with the two software programs I usually use: Lightroom CC and Capture One Pro.
Both programs therefore open files regularly, even though, in both cases, we find (as with all raw files from smartphones) a file that looks very different from the “preview” we see on the screen when we look at it on our smartphone.
The reason is obvious: the ProRaw file has a “preview” in the Apple Photos gallery that matches the default iPhone shot.
But when we open this file in Lightroom CC or Capture One Pro, the programs recalculate a new preview that shows the pure captured data. Consequently, with Apple ProRaw files, we will almost always see an underexposed file that needs to be corrected to ensure an accurate interpretation.
Generally, I noticed more detail (by adjusting the Noise Reduction and Sharpening parameters) within Capture One. Even with Lightroom, I get excellent development with excellent recovery of highlights and color in general.

Apple ProRaw and Night mode portraits?
Apple ProRaw can be activated in the basic photo modes and also when Night Mode is activated.
It is not available in portrait mode and therefore not even in the night portrait mode introduced by the iPhone 12 Pro.
Apple ProRaw vs Halide Raw
This was an interesting test. The Halide Camera app was the one I used most on the iPhone Xs during the last year before the iPhone 12 Pro Max’s arrival. I used this app for all the photographs I wanted to take with manual control.
At the moment (Halide app version 2.0.5), the app uses a traditional Raw DNG format capture. What does this mean? That it still fails to exploit all the computational photography algorithms I described above.
Halide’s raw is therefore an “old school” raw like the ones from cameras — a Raw that comes out directly from the sensor.
Where can we see the differences? We see them when we analyze the images side by side with 300% zoom. We will see a big difference in the details, as reported in the paragraph above.
We understand that, at the moment, Apple’s direction with ProRaw has been to favor a very clean file (with little digital noise) at the expense of detail when we zoom in very closely.
In the case of the raws that come out of the Halide Camera app, we have the opposite situation: a file that did not have the benefits of computational photography as far as noise cleaning is concerned, so it has much more noise but at the same time has more detail.
The problem with raw files in Halide arises when we shoot automatically in low light and the application, for reasons related to photographic technique, raises the ISO.
Files taken with the Halide app, therefore, suffer much more from increased ISO than files taken with Apple ProRAW.


Apple ProRaw, how to enable and use it
To activate Apple ProRAW is very simple. I walk you through the steps to enable it on iPhone 12 Pro and iPhone 12 Pro Max:
Go to Settings → Camera → Formats → activate the item “Apple ProRaw”.
Later in your Camera app, you will find a button at the top right to activate or deactivate recording in Apple ProRAW format. I remind you that if you activate this setting, it will remain so as long as you use the camera. At the next restart, the Raw capture will be disabled. If you want to make the ProRaw format always active, you need to be sure that this option is checked:
Go to Settings → Camera → Preserve Settings → Apple ProRaw.
I remind you that Apple ProRAW works with the basic camera mode, Night mode, and the front camera. It does not work in portrait mode.
Apple ProRaw file format
Apple ProRaw files are saved in the Adobe DNG universal format. This is the best choice Apple could make to immediately achieve full compatibility with all software that reads this universal format from Adobe.
Apple ProRaw file size
The weight of Apple ProRAW files for the iPhone 12 Pro Max ranges from 11 MB to 33 MB. It is highly variable depending on the scene, the lights, and the colors captured within the file.
When will Apple ProRaw be available?
Apple ProRAW became available in iOS 14.3, released on 14/12/2020.
Apple ProRaw supported devices
Apple ProRAW is currently available on iPhone 12 Pro and iPhone 12 Pro Max, as well as later Pro devices.
Will Apple ProRAW come to the iPhone 11 Pro or any previous iPhones?
It is difficult to imagine this. If Apple ProRAW had been planned for other iPhones, then this news would have already been given by Apple for some time. I am sure that the limitation is partly due to further boosting sales of the new iPhone 12 Pro series, and on the other hand to some hardware advantages (more RAM?) present only in the iPhone 12 Pro series at the moment.
It is likely, however, that Apple will decide next year, perhaps with the time available to further optimize the algorithms, to extend Apple ProRAW to the basic versions of future iPhones (the subsequent iPhone 13 series).

Is Apple ProRaw worth it?
If you ask me whether it is worth keeping the Apple ProRAW format activated, I obviously say yes, as the extra data allows you great versatility in file editing.
In fact, many times, a quick photograph suddenly turns out to be one of your favorite shots. Therefore, having the file with all the information at your disposal for modification is a great advantage!
I hope that in the future Apple will give the possibility to save the development presets in the iOS app and on macOS, and that it will allow a Copy / Paste of the development settings (an option that is already available in the version of the app on macOS).
I hope, perhaps, for an option to reduce the amount of Noise Reduction applied and have more detail available, even at the expense of more noise. Let’s see what future updates will bring!



Leave a Reply