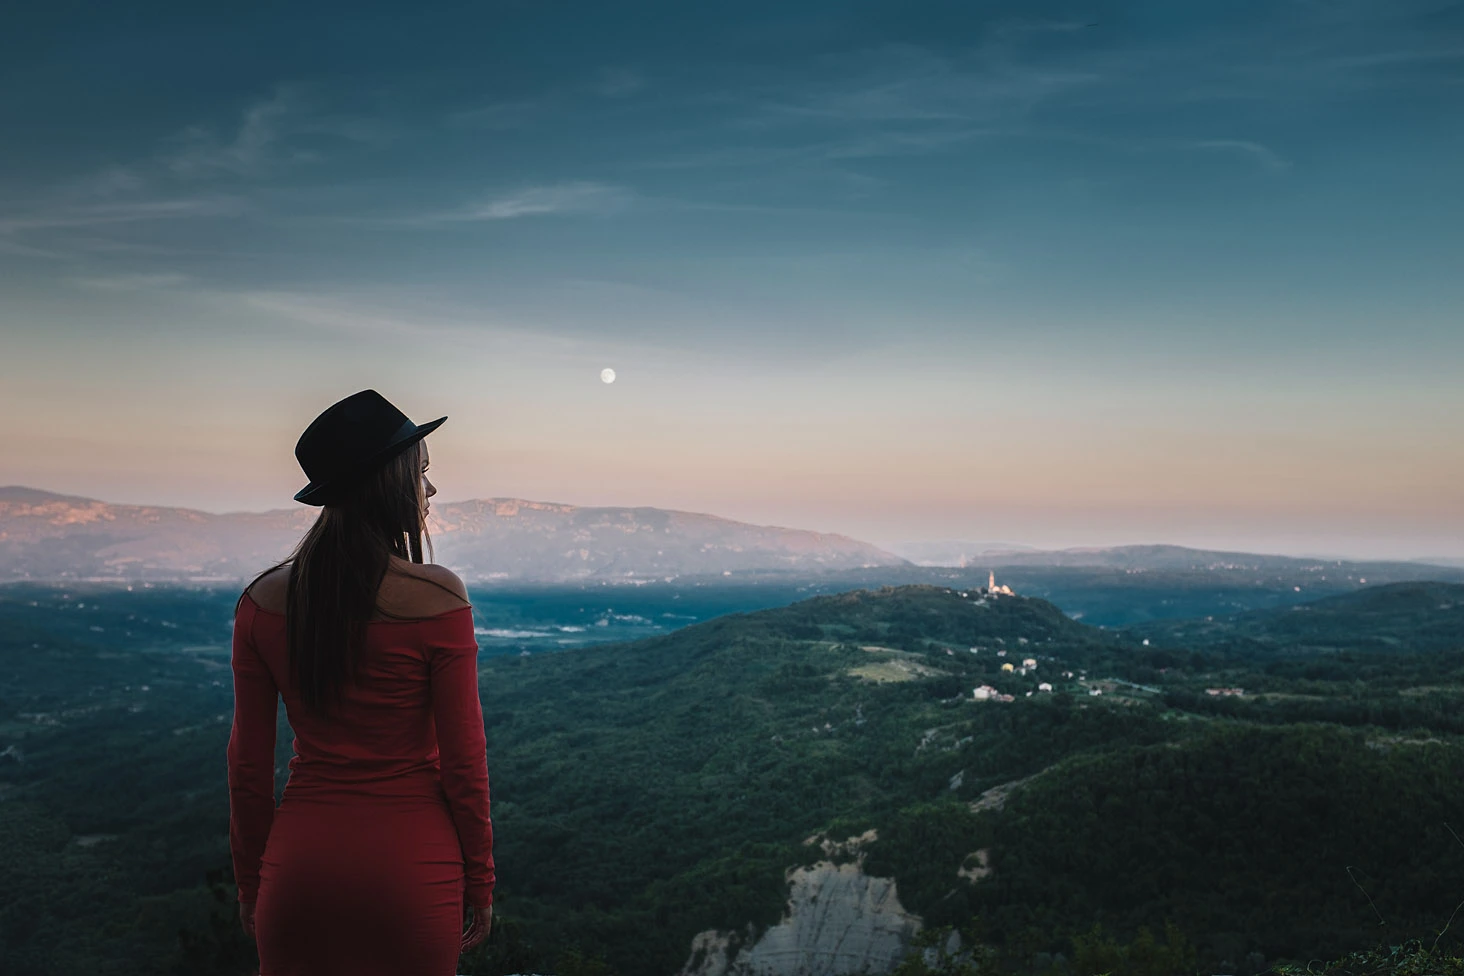
Photographers are often not only obsessed with the quality of their pictures but also with the tools they use. We consider cameras tools to get the job done, but it is no secret that a lot of the time we are looking for something that brings satisfaction rather than frustration when we are shooting.
I remember my first photography class about 14 years ago: at the time (2002), digital DSLRs were kind of expensive and limited in image quality. There was a big debate about analog vs. digital and which was best. In those years, there was no match: analog photography still had an edge over the digital world.
I remember that during that first class, I was so impressed by the sharpness and colors of the slides the teacher projected in the room: you could see a picture so vivid and crisp in that dark room. I was in love with those colors. Those slides were shot on Fujifilm Velvia.




So my start on the path of photography was with Fujifilm slides: first using the inexpensive Sensia, then moving to Velvia and Provia. I remember my trip to the Greek island of Santorini, when I took some vivid photos with those films. Unfortunately, I cannot find all those slides now—only some —but that is another story.
Why this long intro to my Fujifilm X100T impressions after a year of use? Simply because I have found myself back with the Fujifilm digital camera that kind of color I could achieve when shooting with Fujifilm analog slide film.
I remember the first X100. I was at Photokina 2010 in Cologne, Germany, when they presented it. Everyone was falling in love with that camera just from looking at it: it looks like an old rangefinder but is still very portable thanks to the integrated fixed lens. I tested and used the first X100, and I didn’t find it that amazing. The picture quality was good, but I struggled with the slow focus and the gimmicky interface.

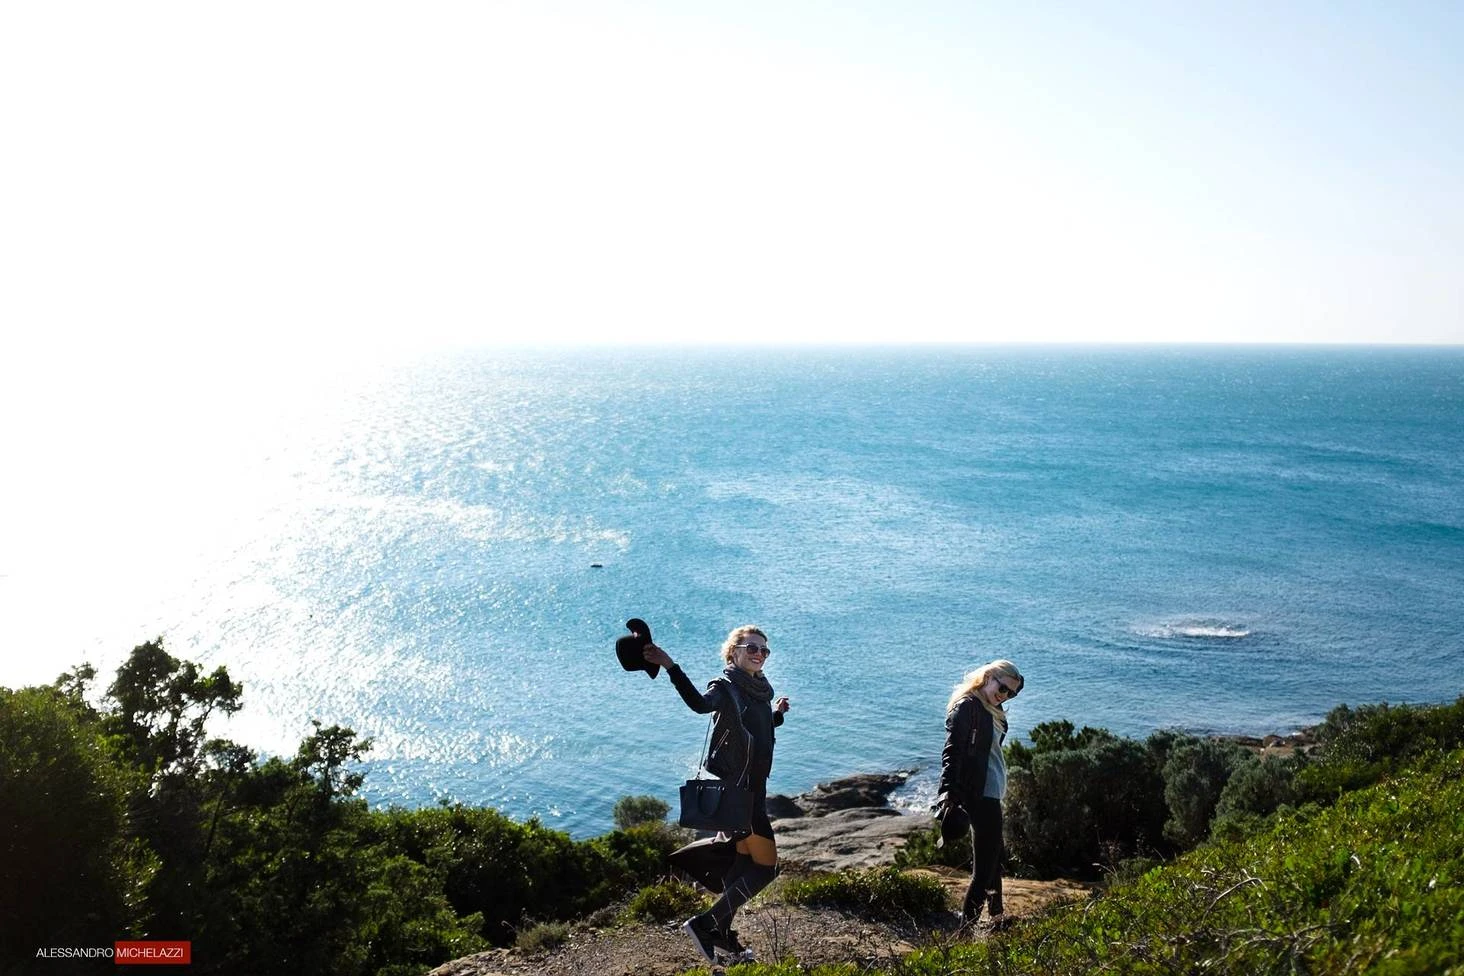


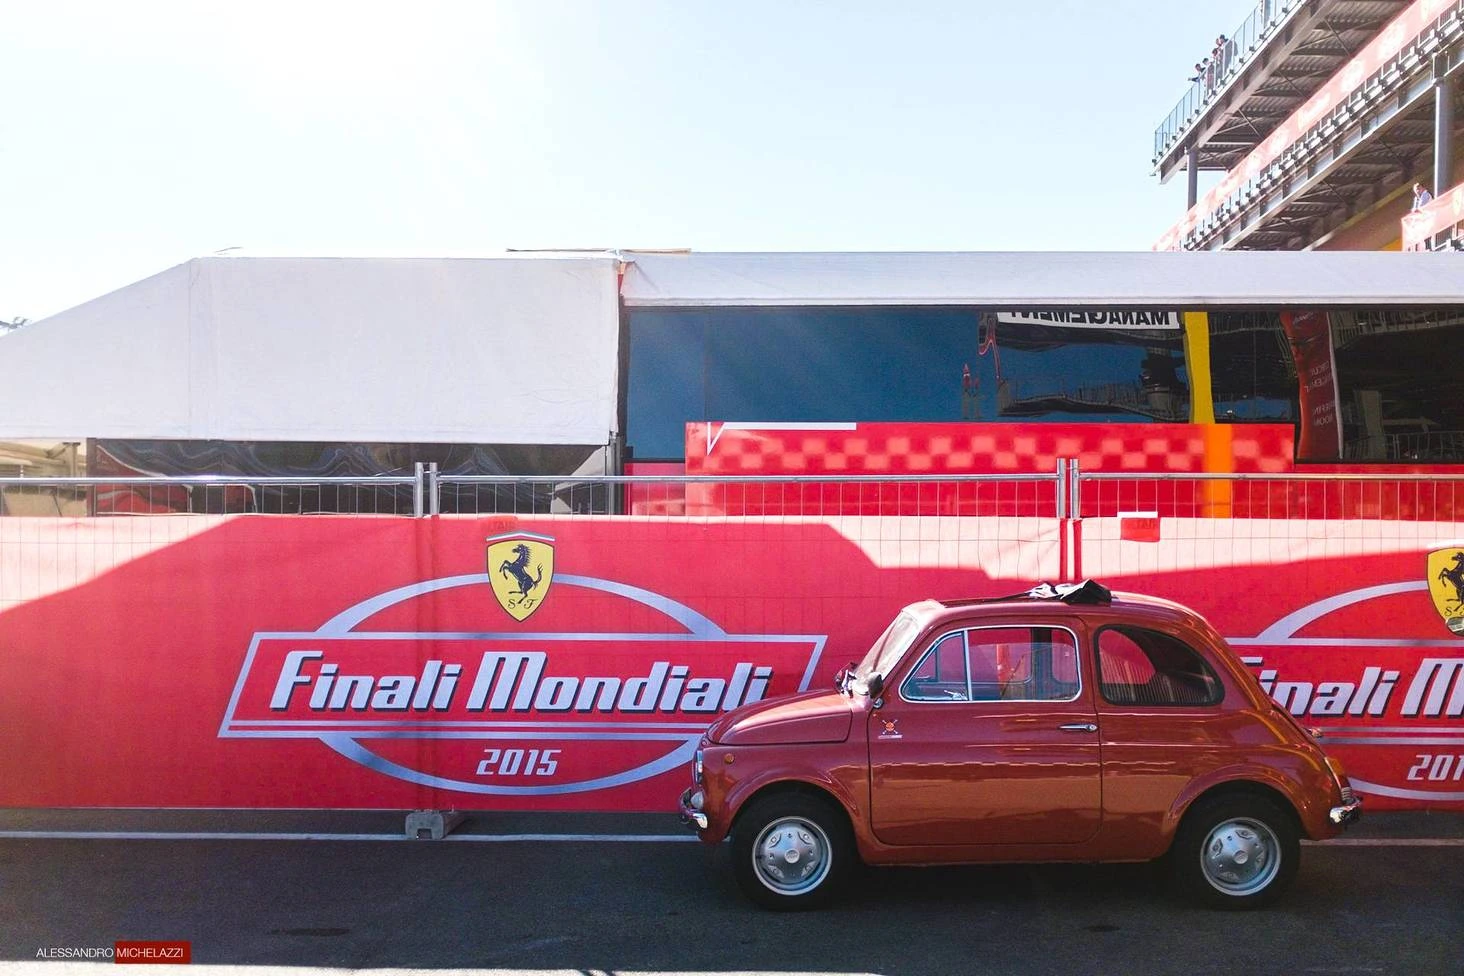


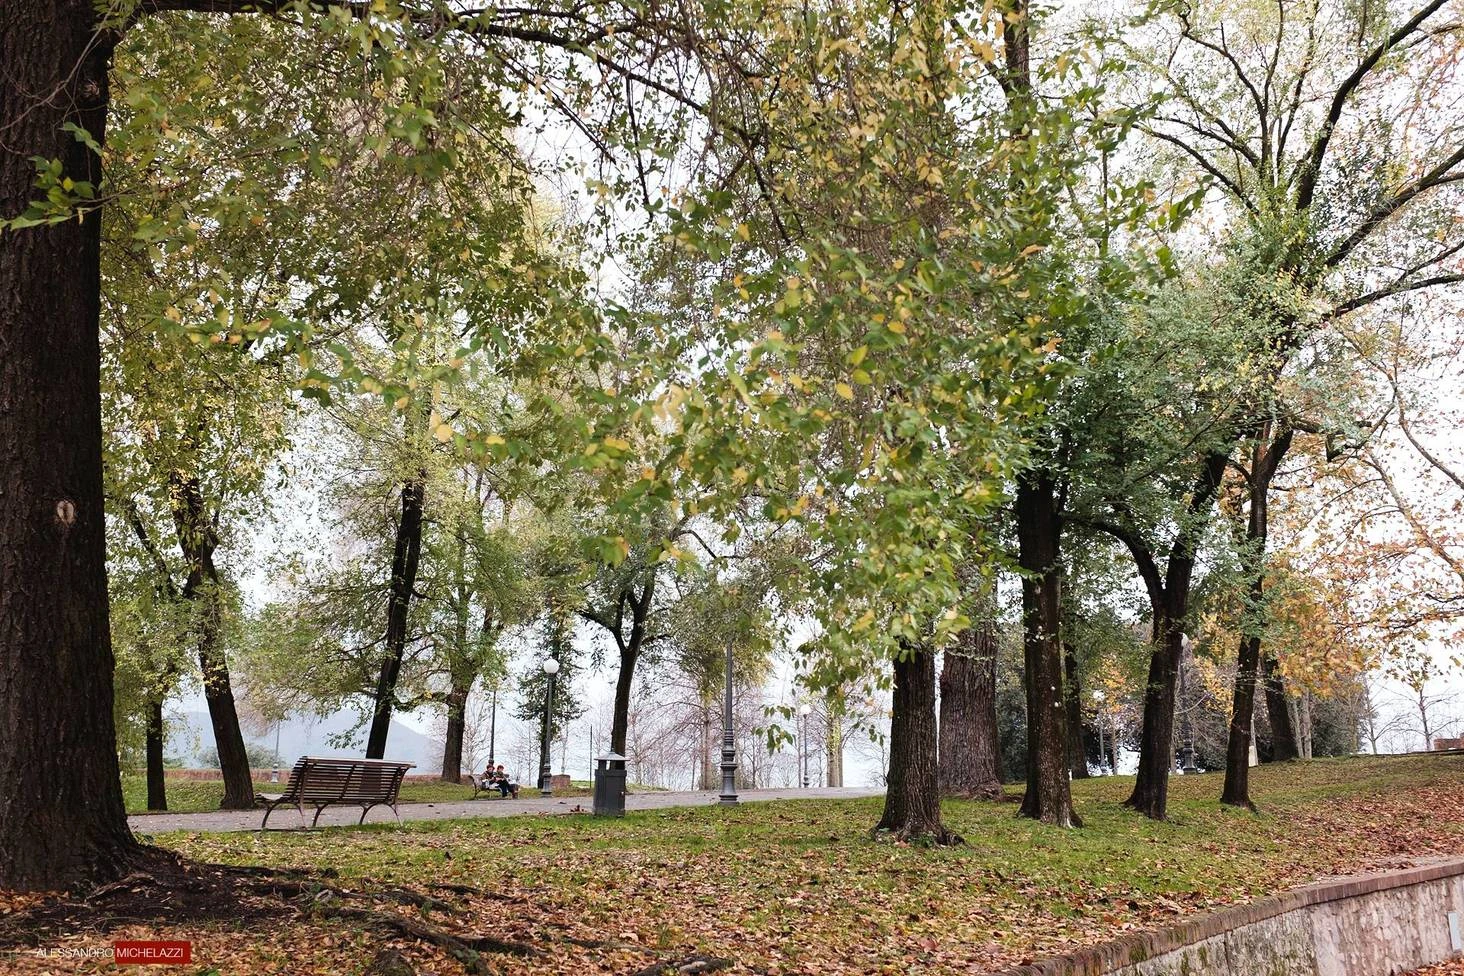

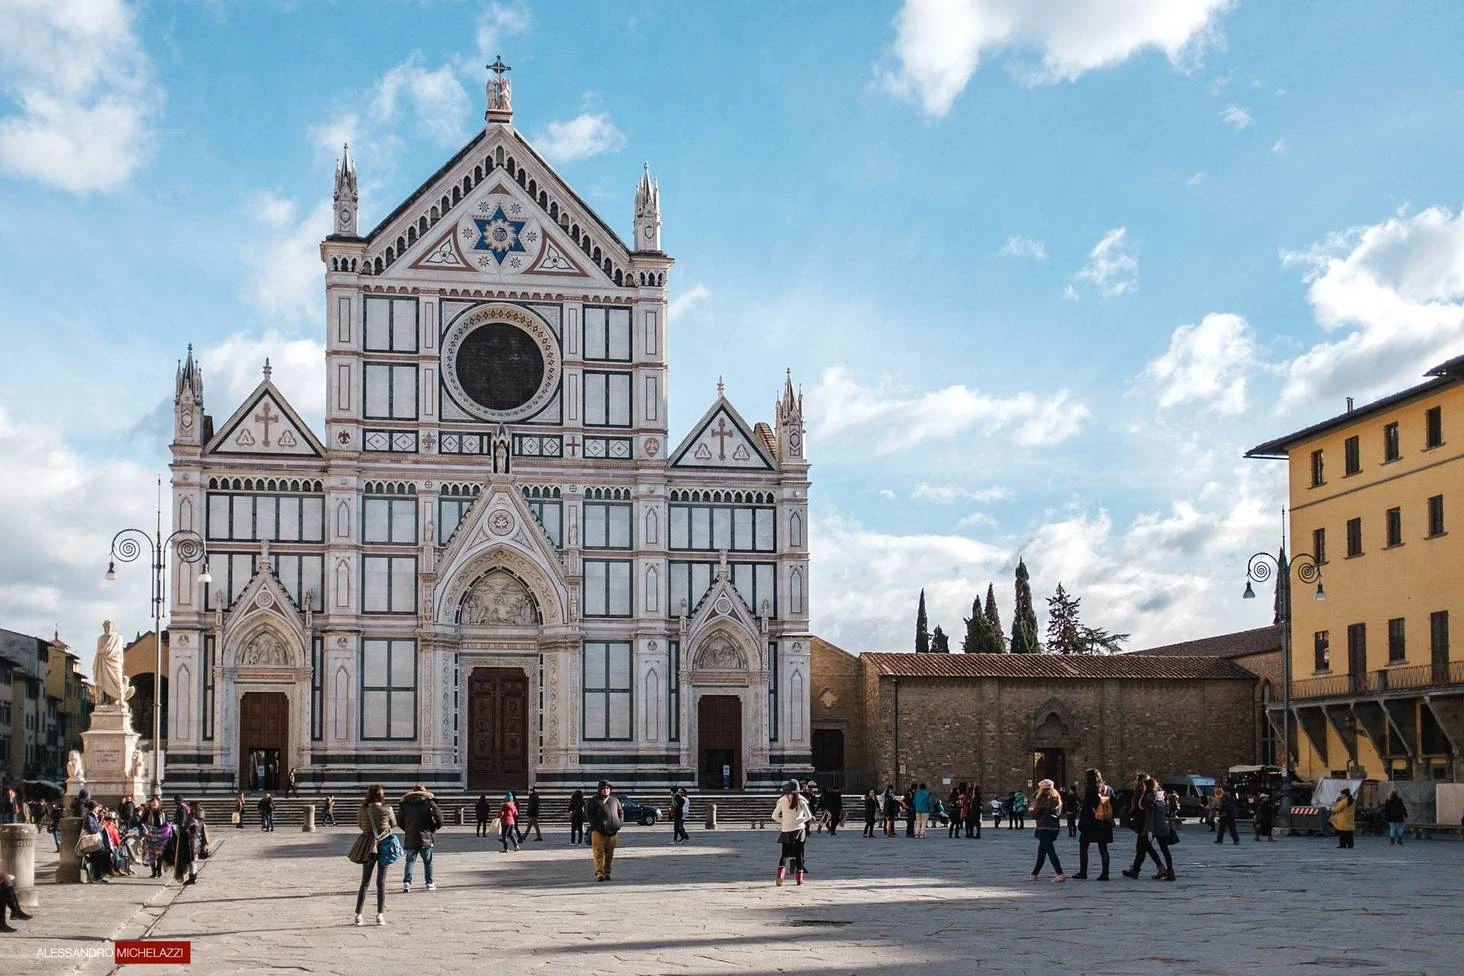

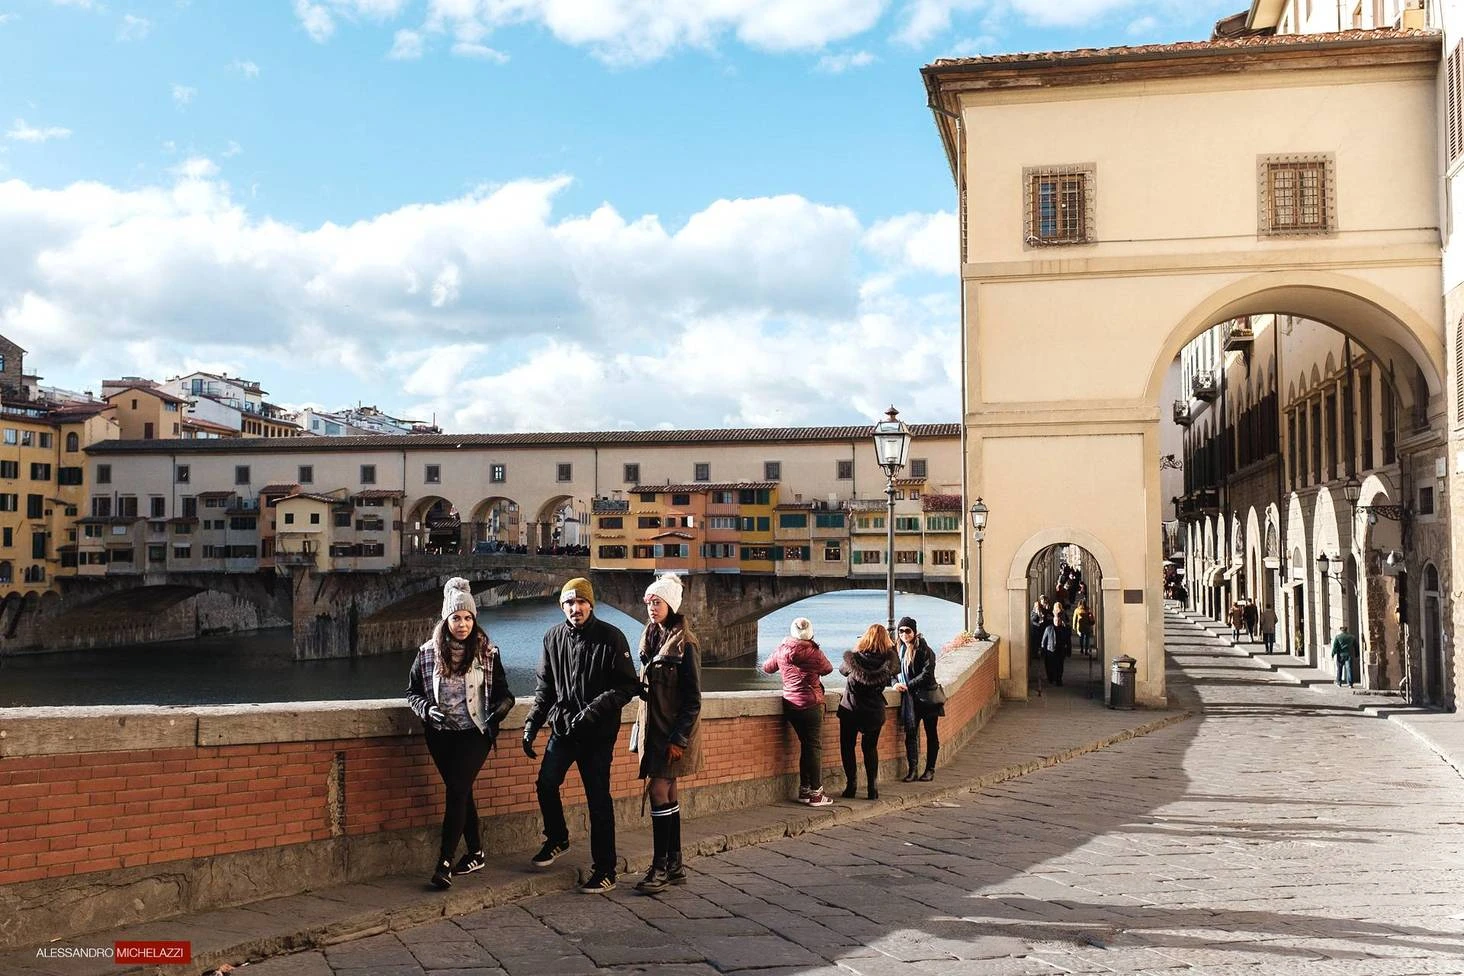

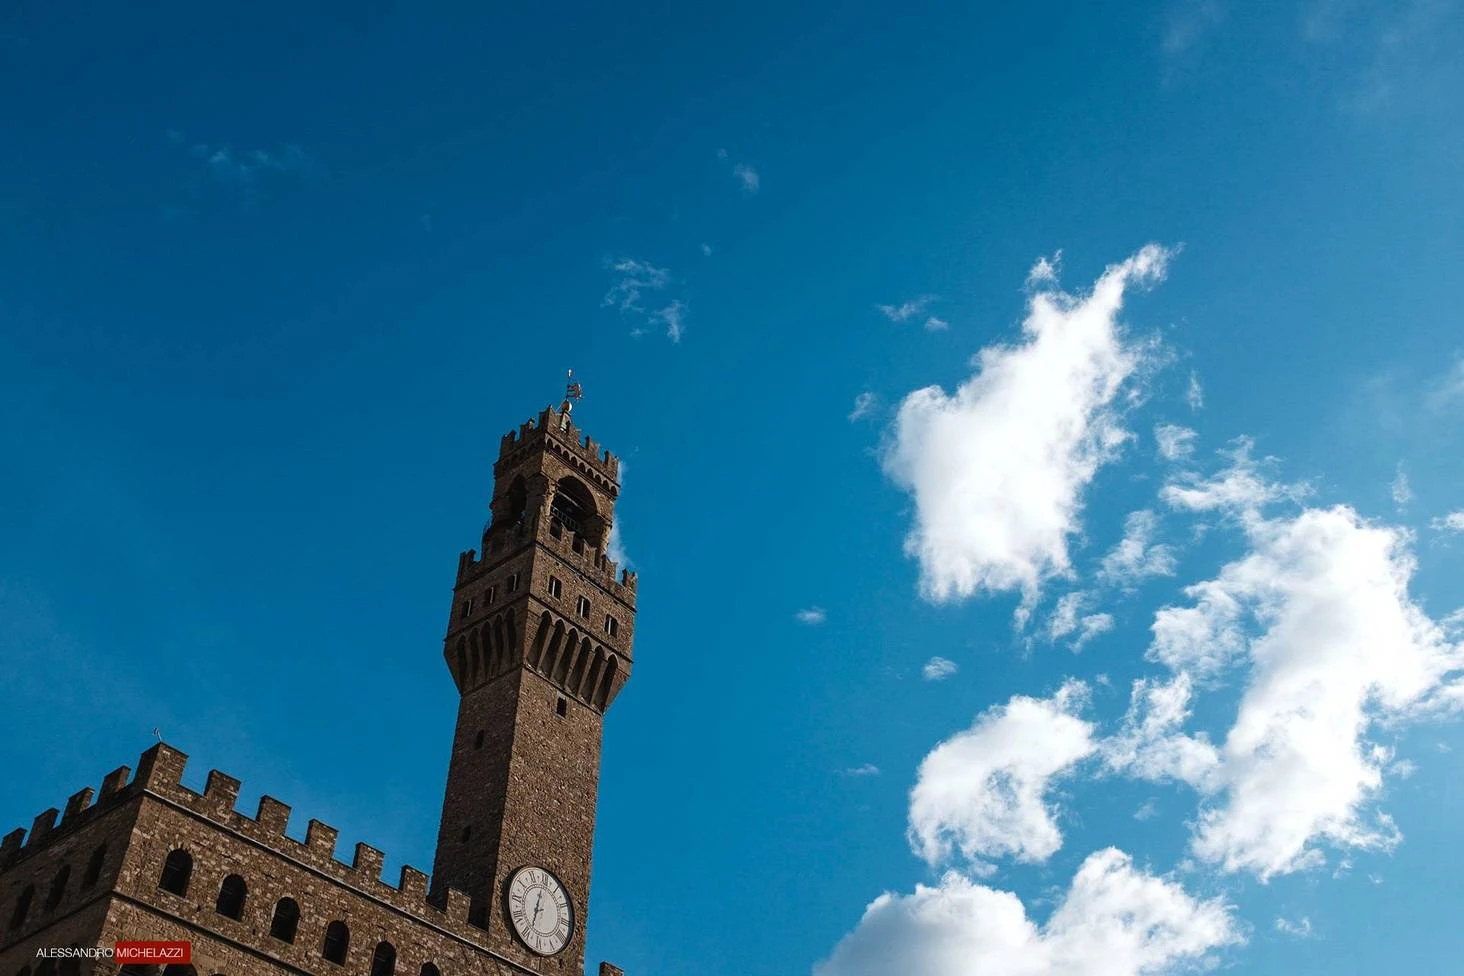

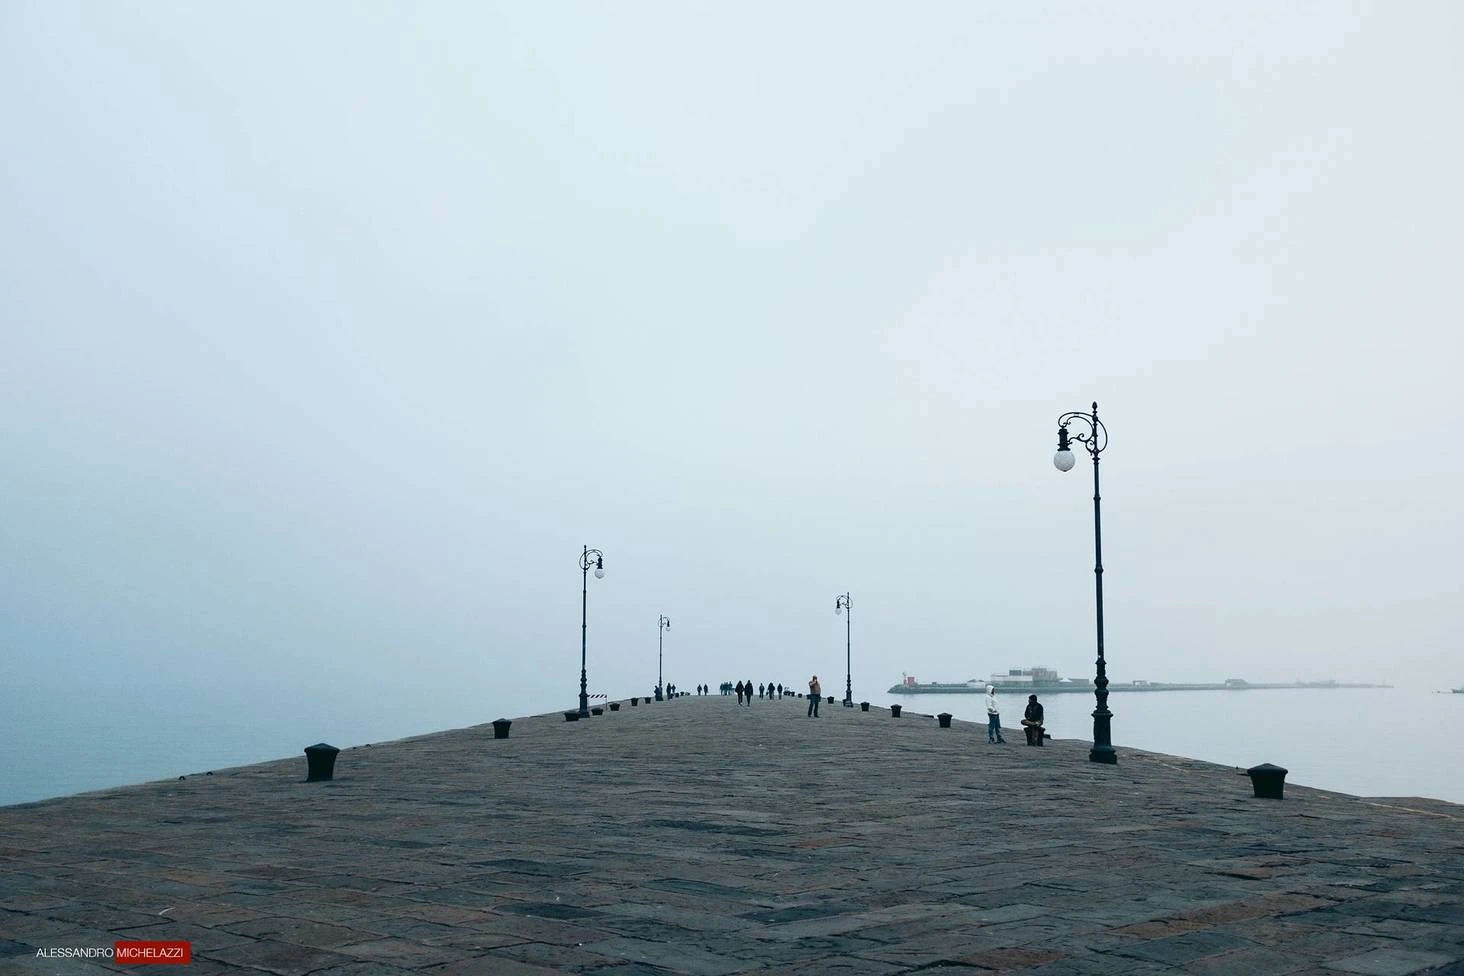


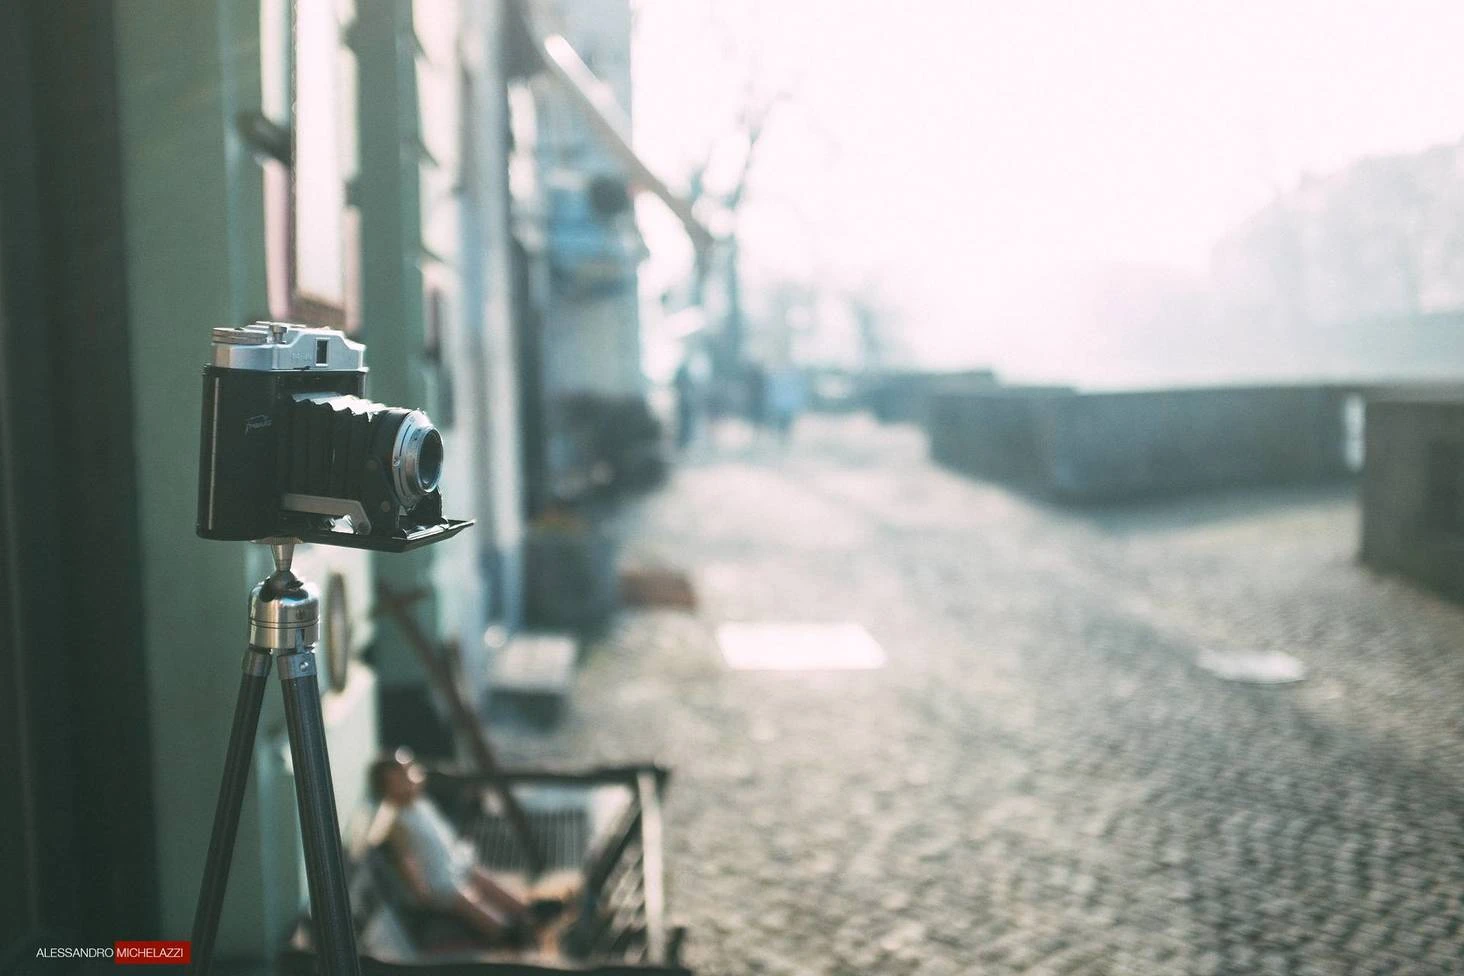





After one year of use, I still consider the Fujifilm X100T not an easy camera for everyone: if you want to master it, you really have to study the user manual to understand how to set all the features. For example, at the beginning it isn’t easy to understand that when you are shooting at full aperture (f/2.0), you can’t use the mechanical shutter at speeds over 1/1000th of a second (because of the leaf shutter). You have to use the integrated ND filter or the electronic shutter.




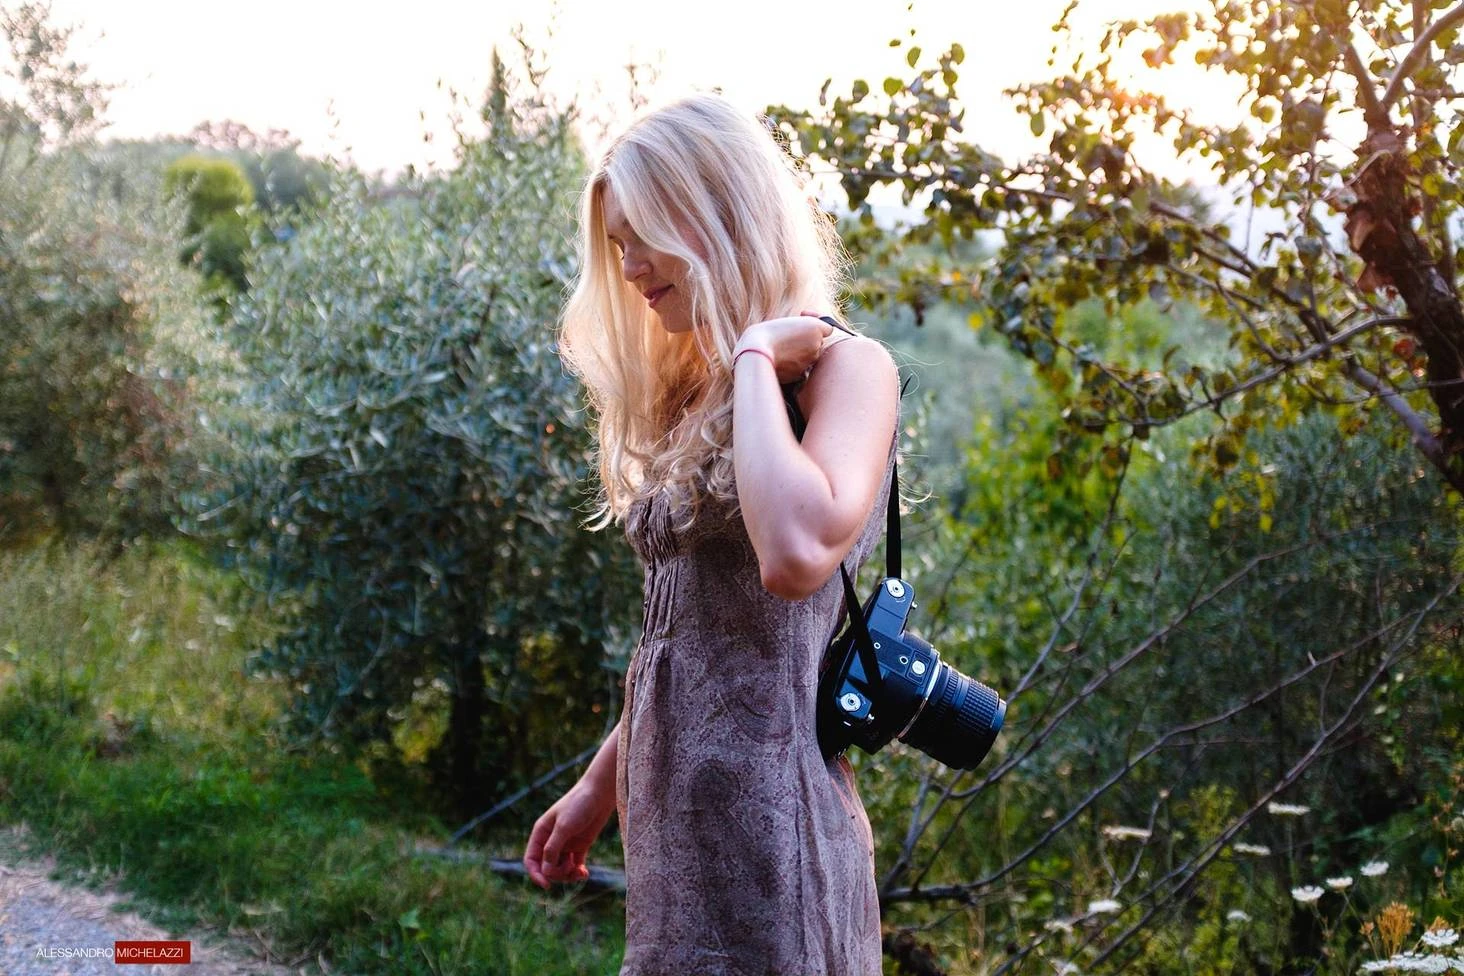
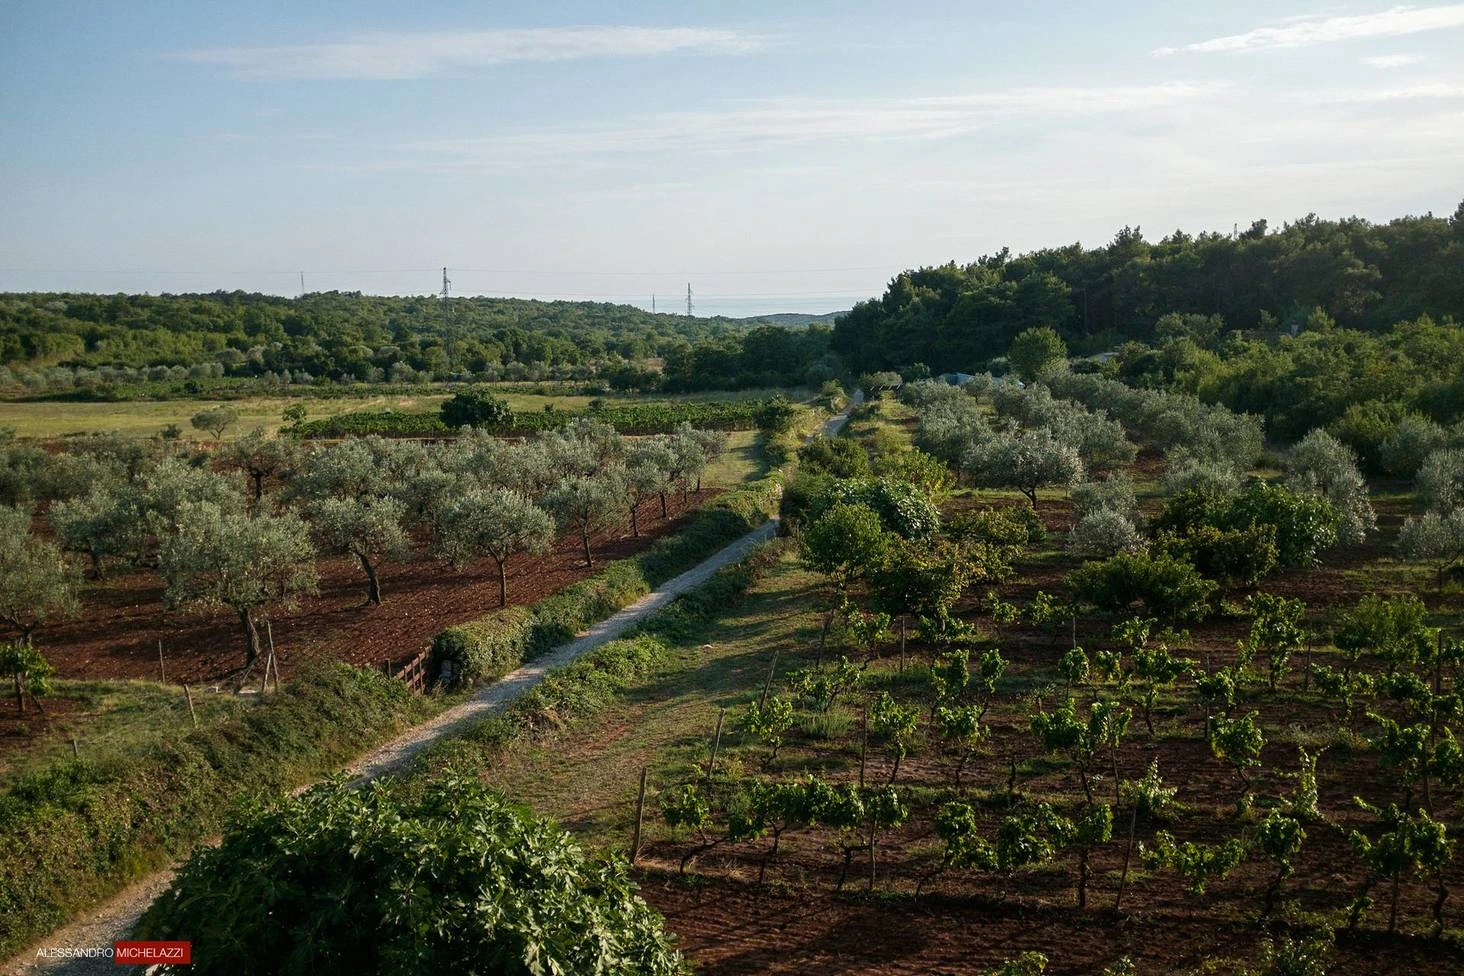
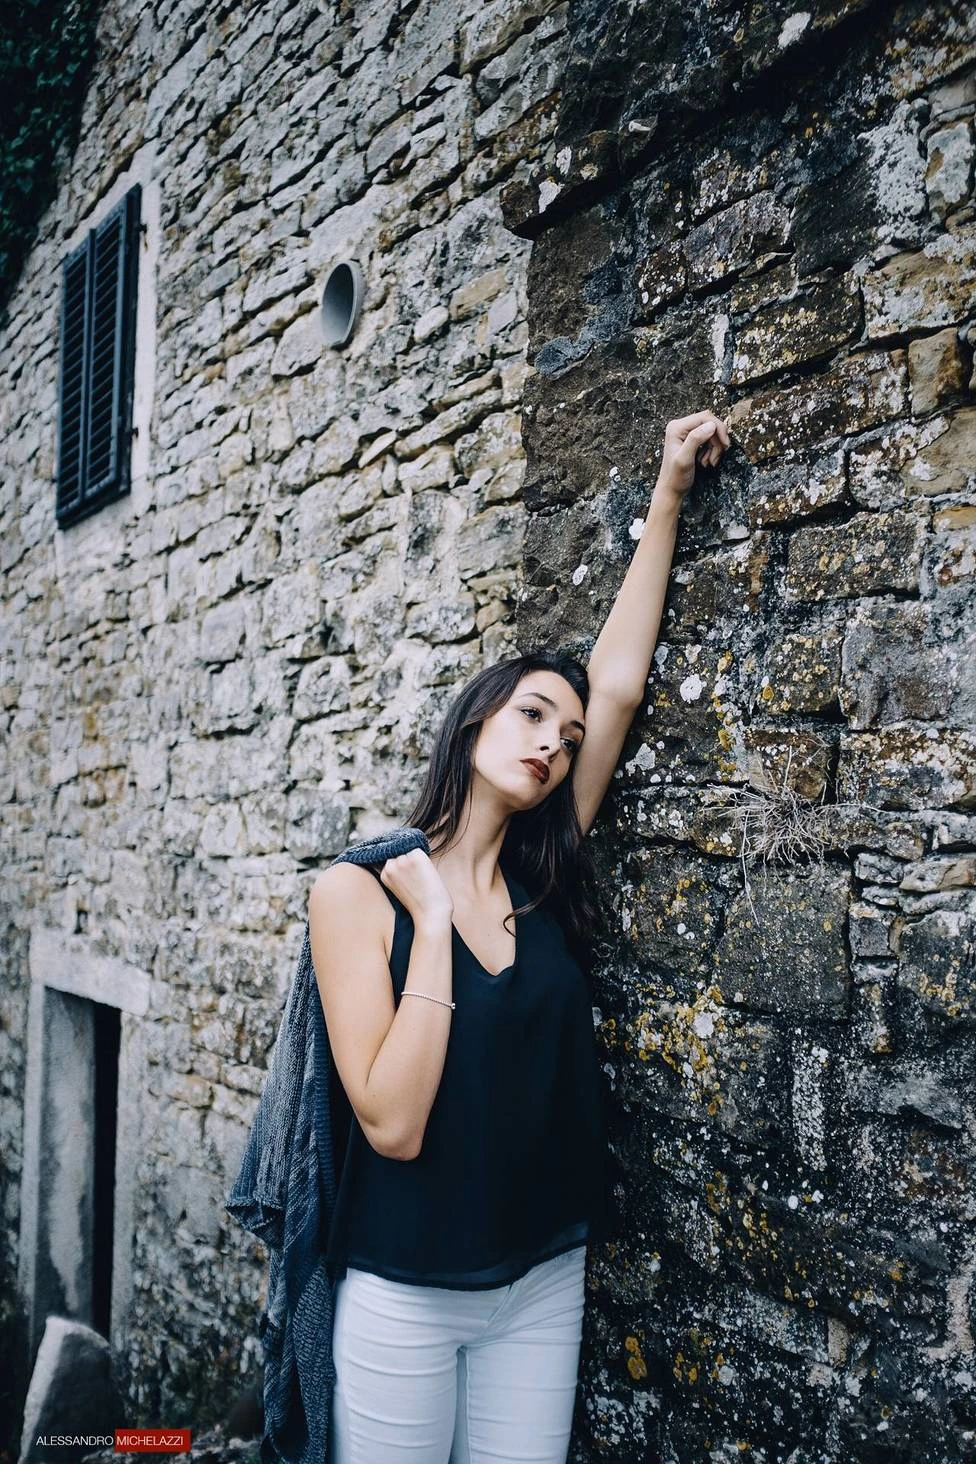



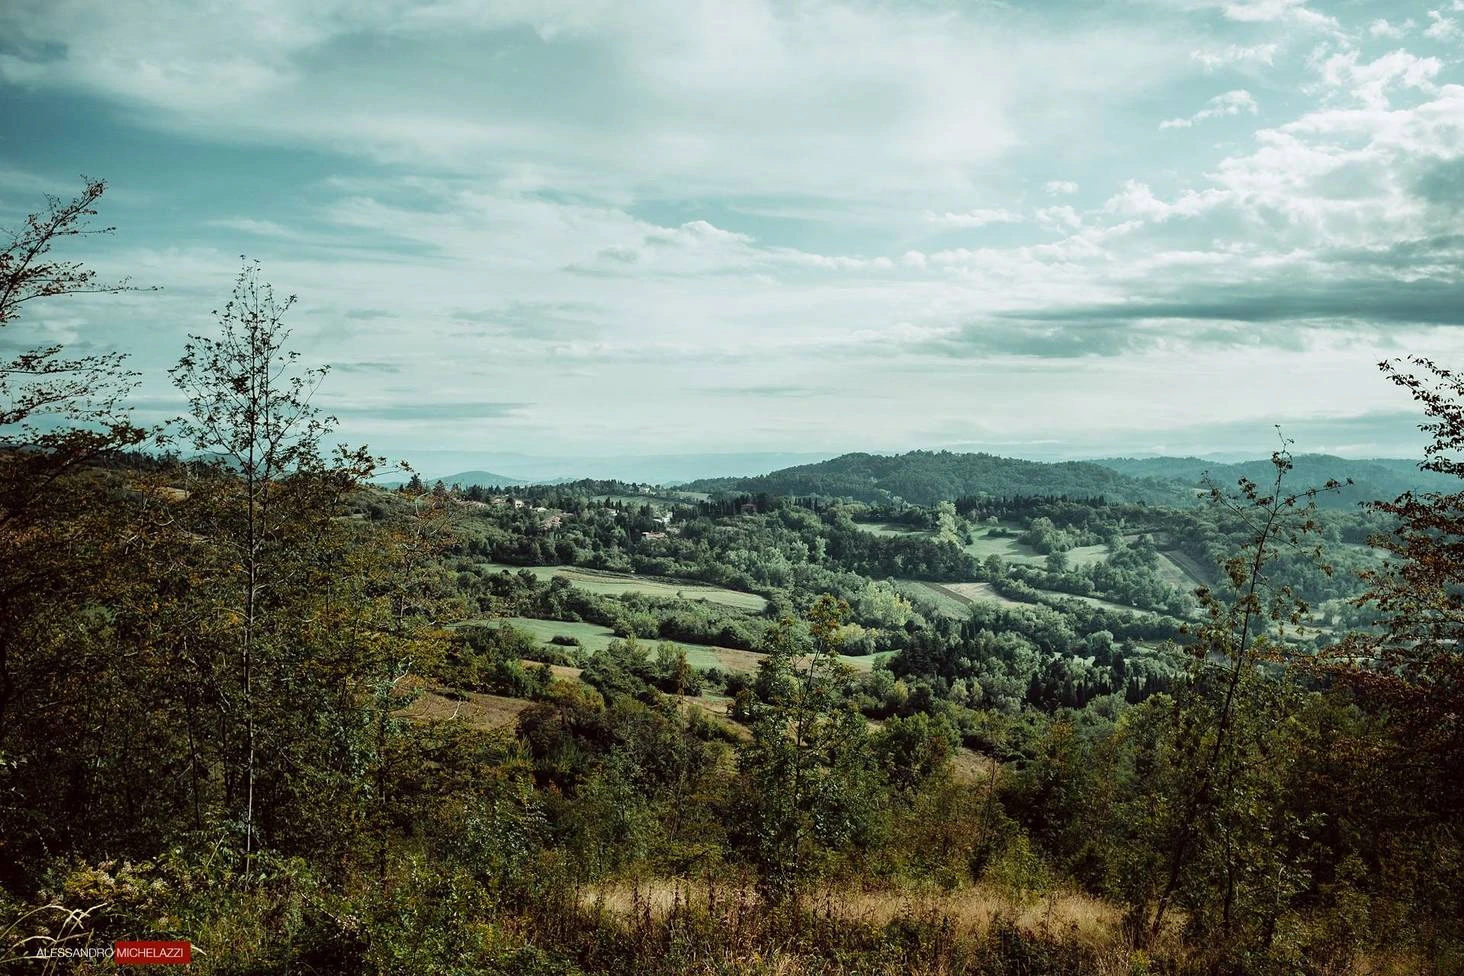


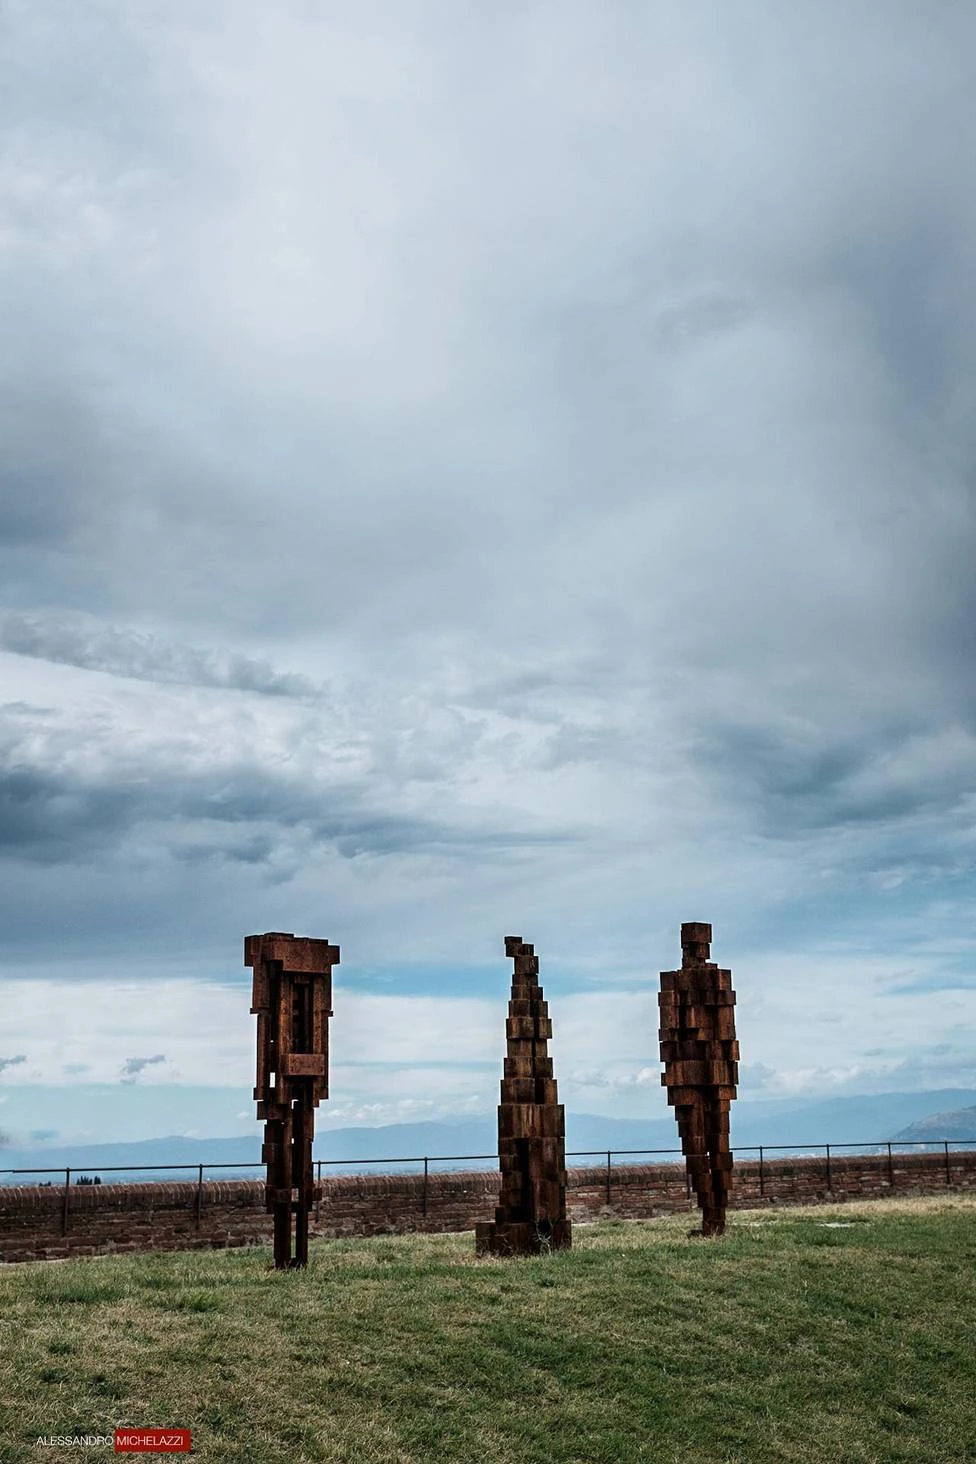

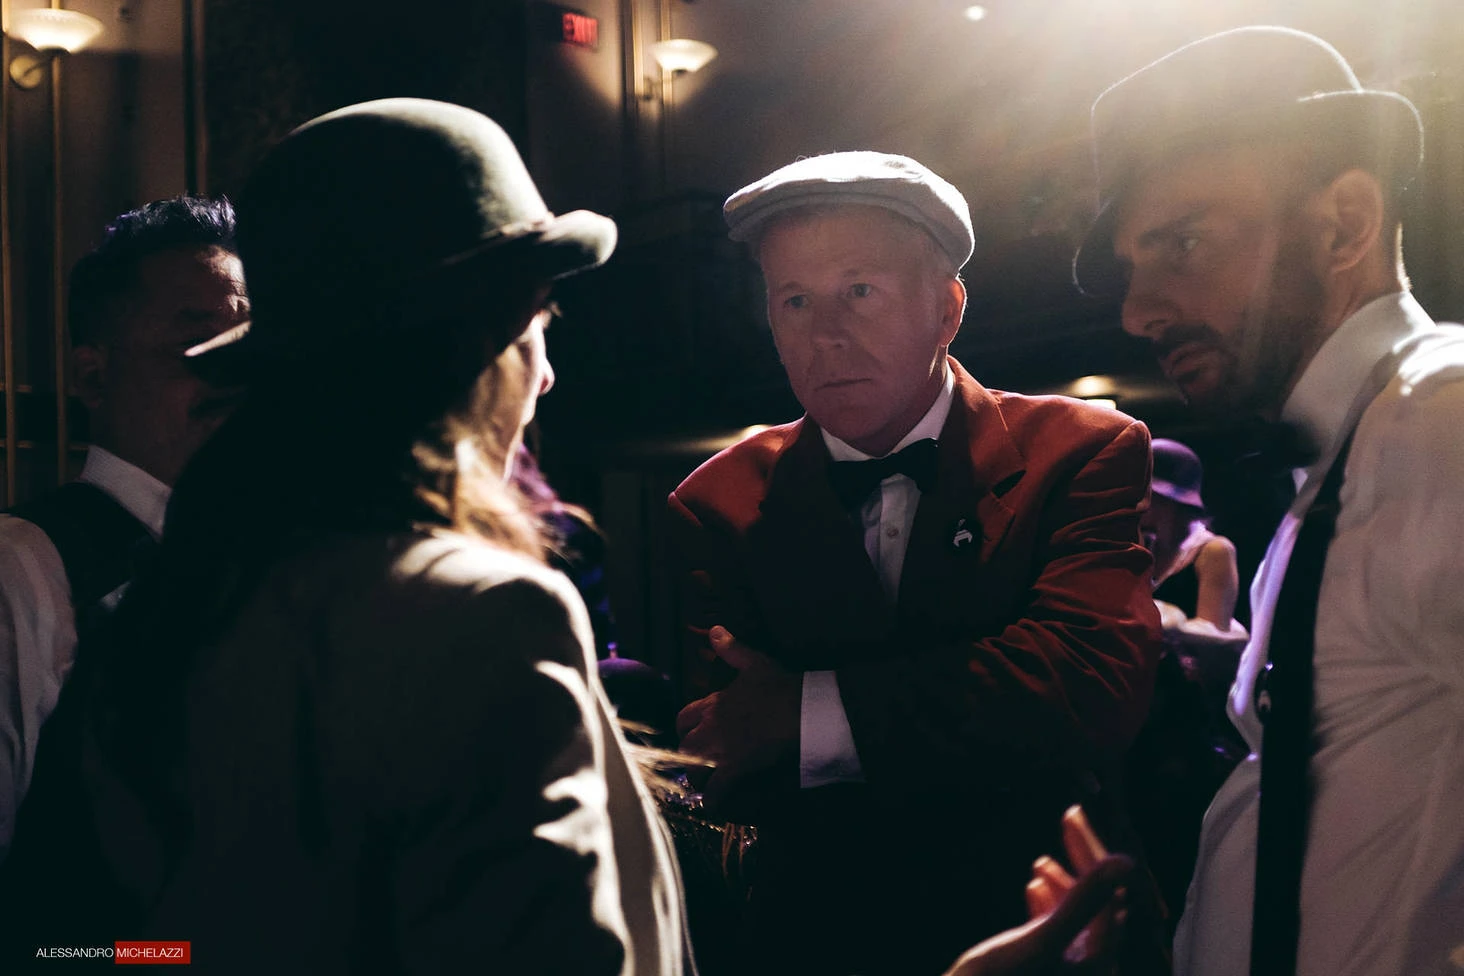
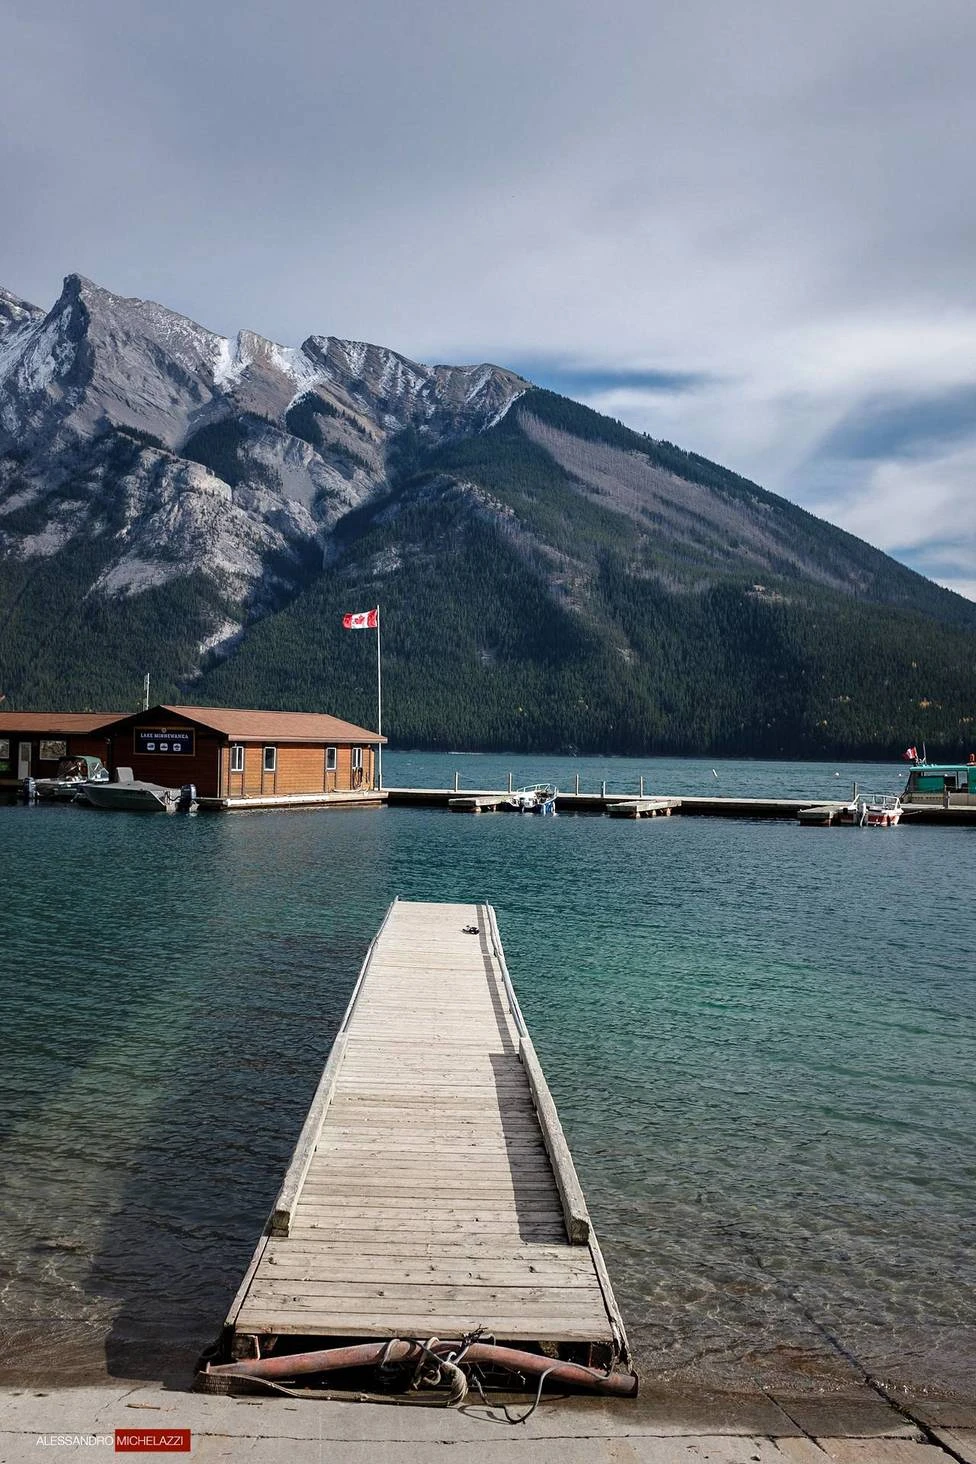





I am just not so happy (and I know I am not the only one) with the demosaicing algorithm in Fujifilm RAW in Lightroom. I know Iridient Developer is an alternative, and I tested Capture One for a few weeks this summer too. The latter gives nice results with Fuji RAW at the cost of slowing down the workflow, at least in my opinion. Honestly, I had difficulty adapting to Capture One after using Lightroom since the first open beta in 2006. I’m just so used to the Adobe software, and it’s much quicker, especially when dealing with a big library of more than 200,000 photos. So I’m staying with Lightroom*, and I have started learning to process Fujifilm RAW files to get the best possible results in this software.
* a note from the future: I’ve switched to Capture One Pro to edit all my RAW files.


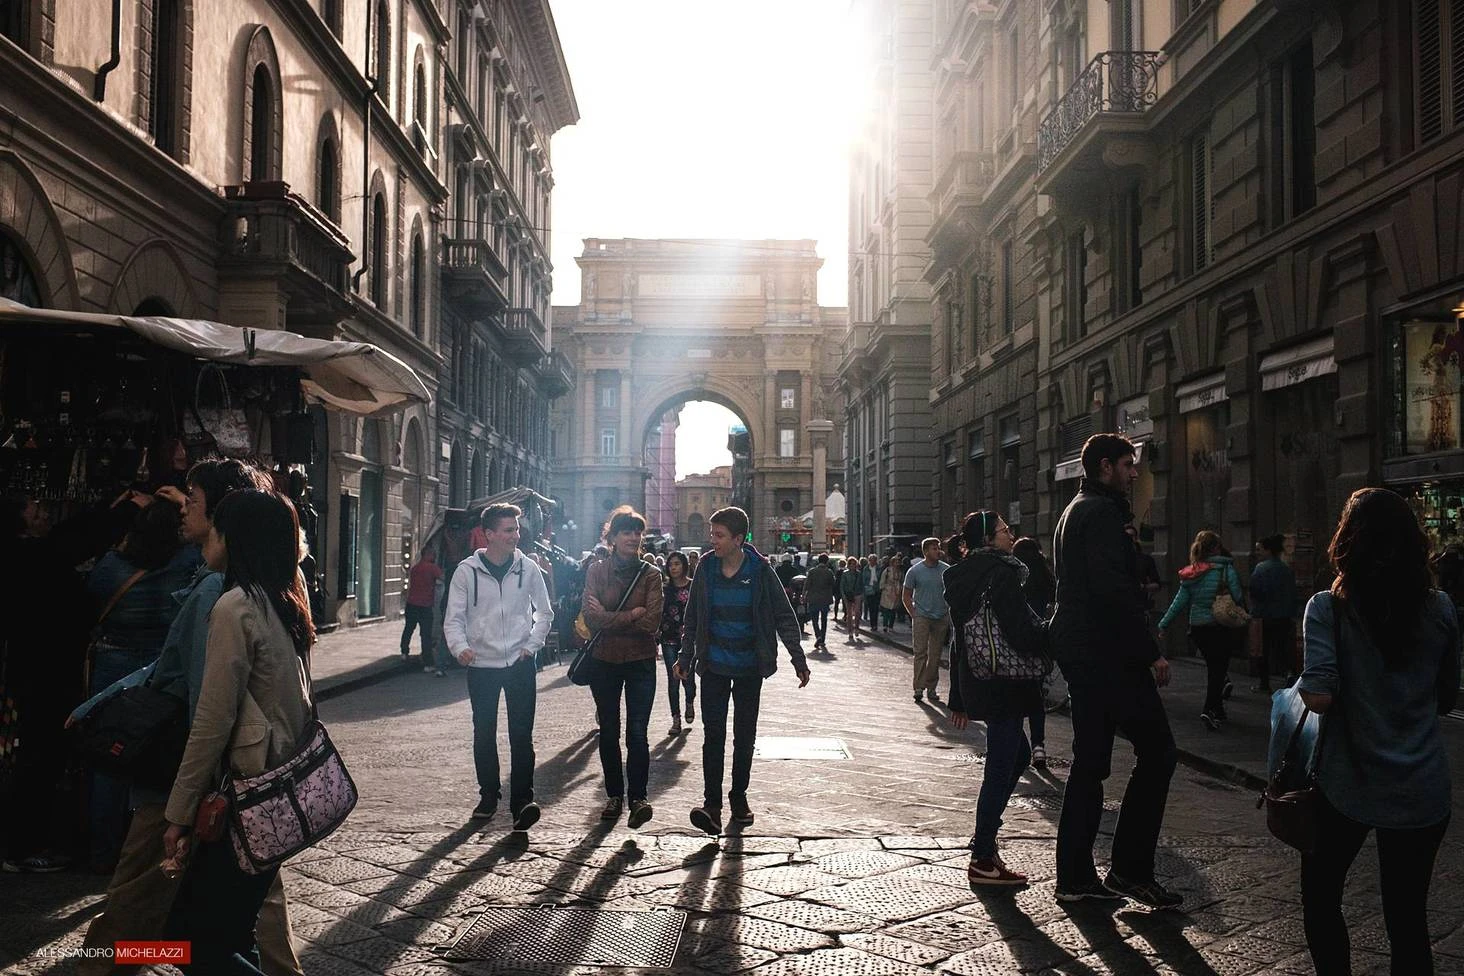
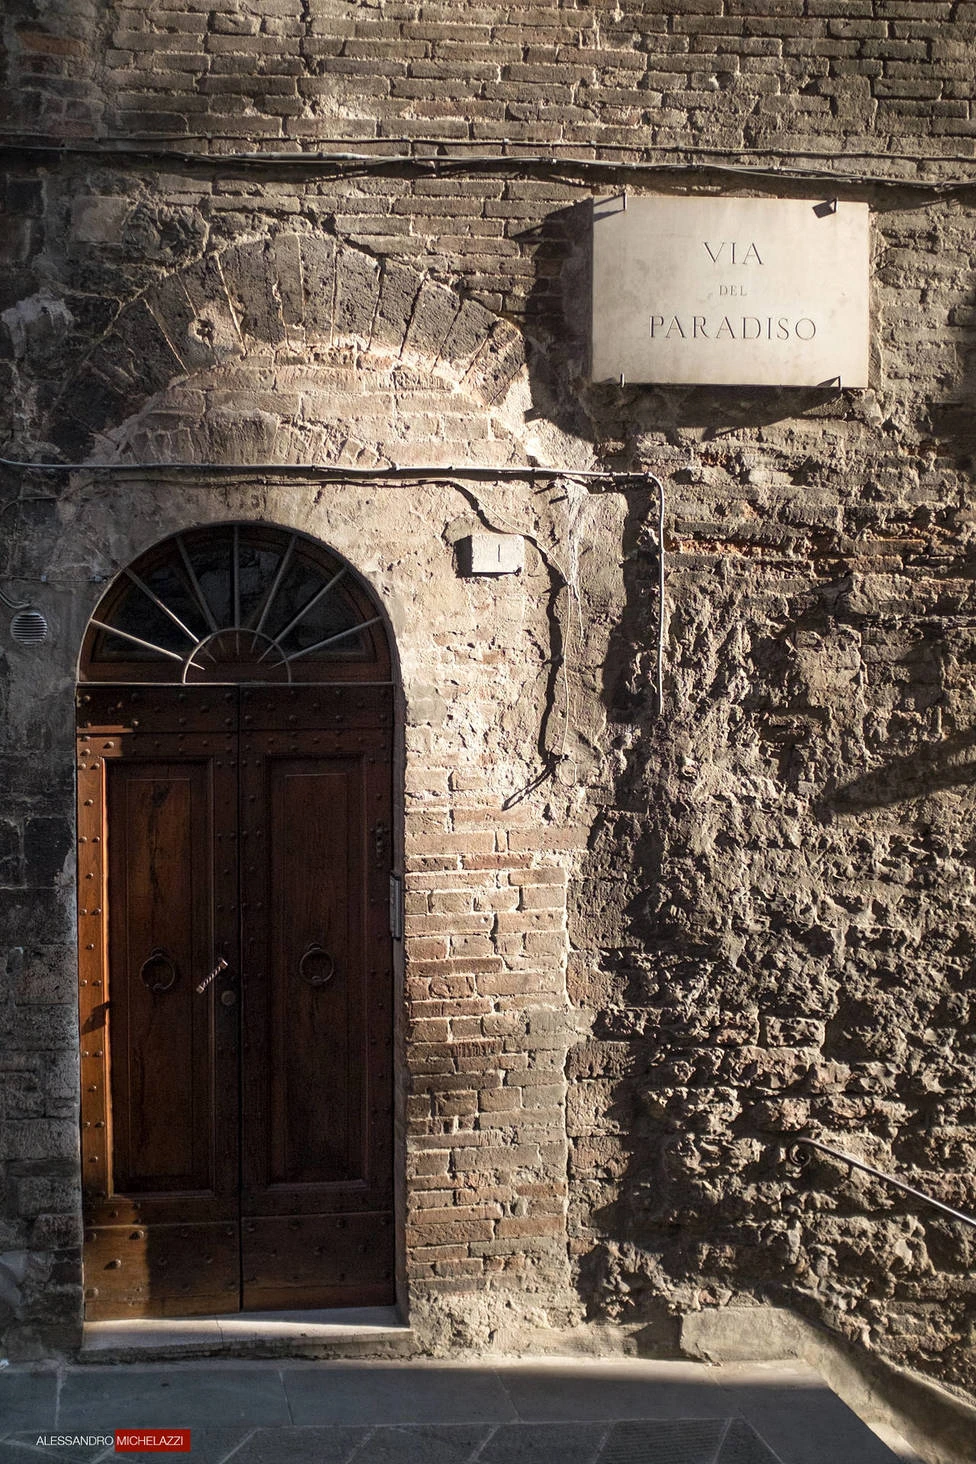




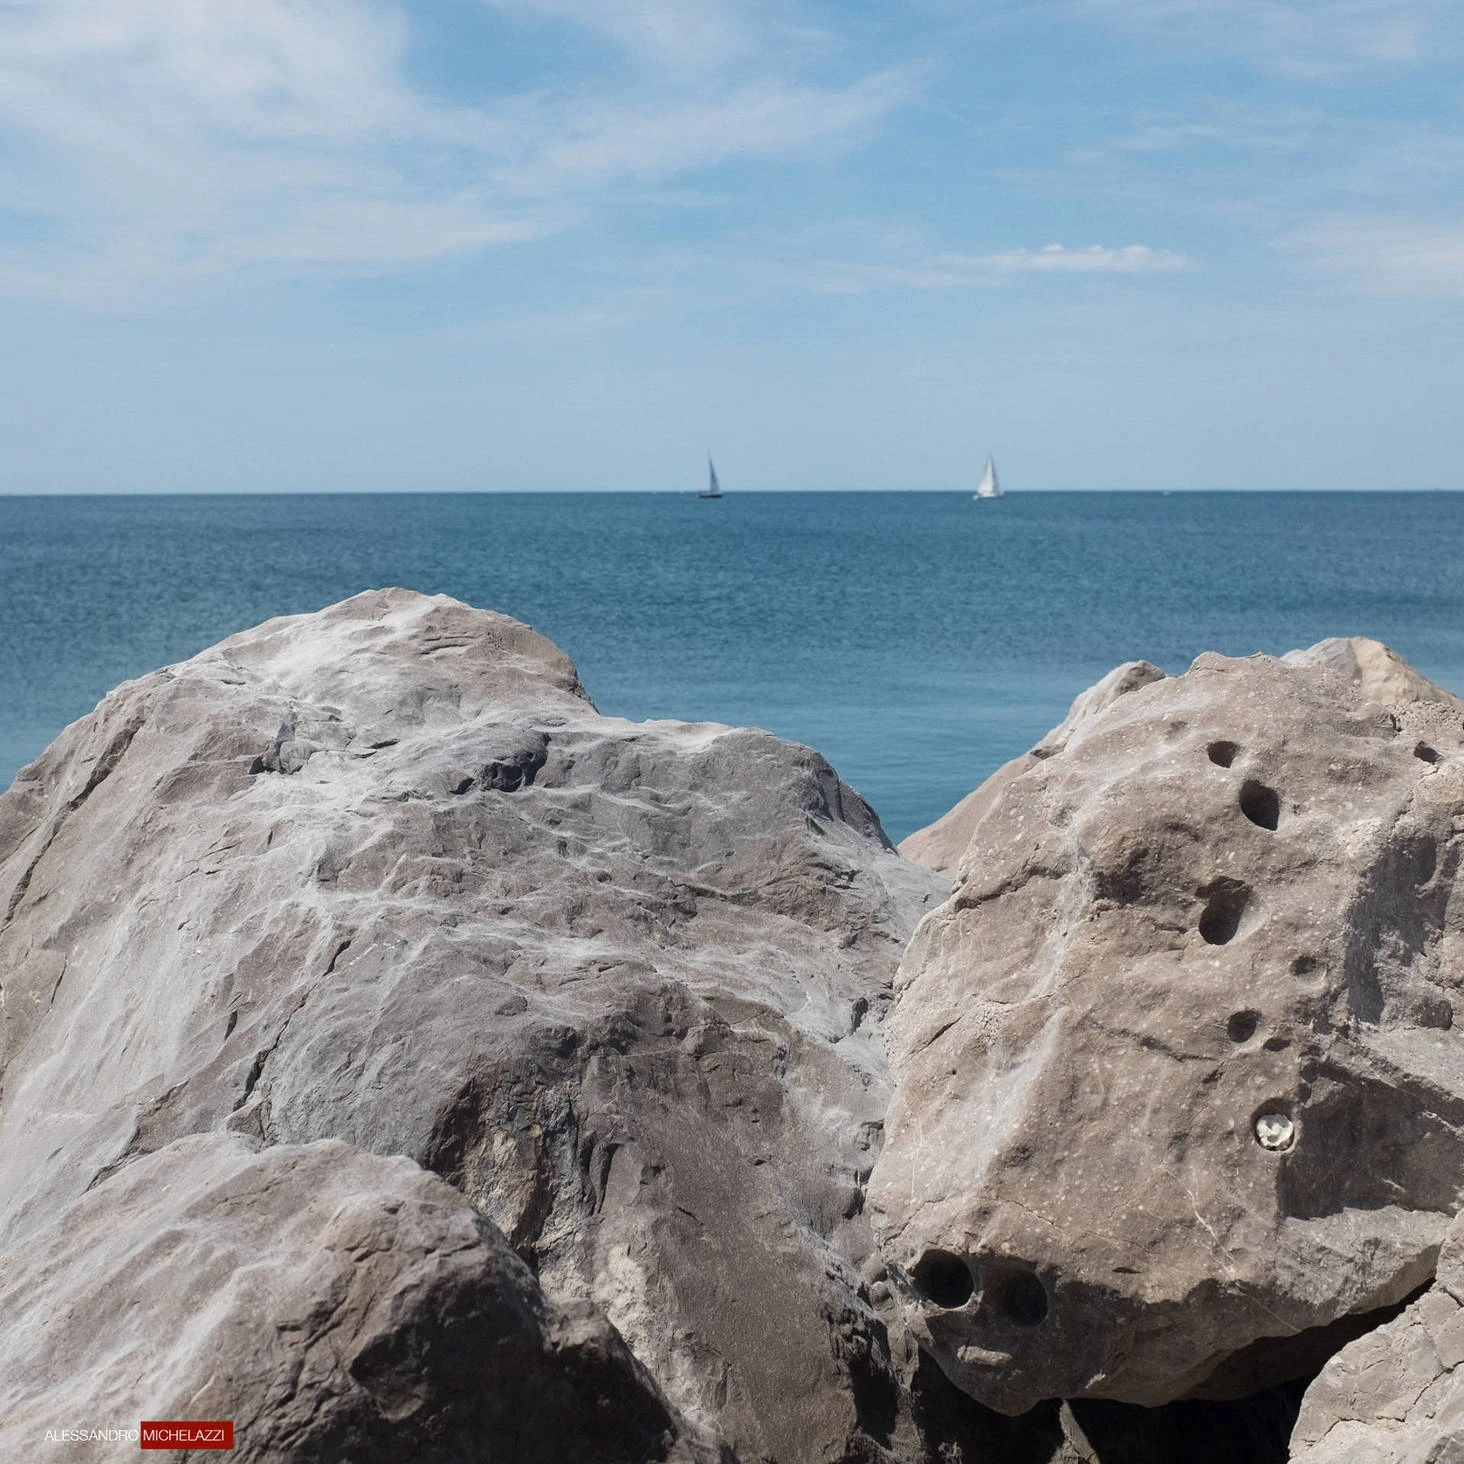

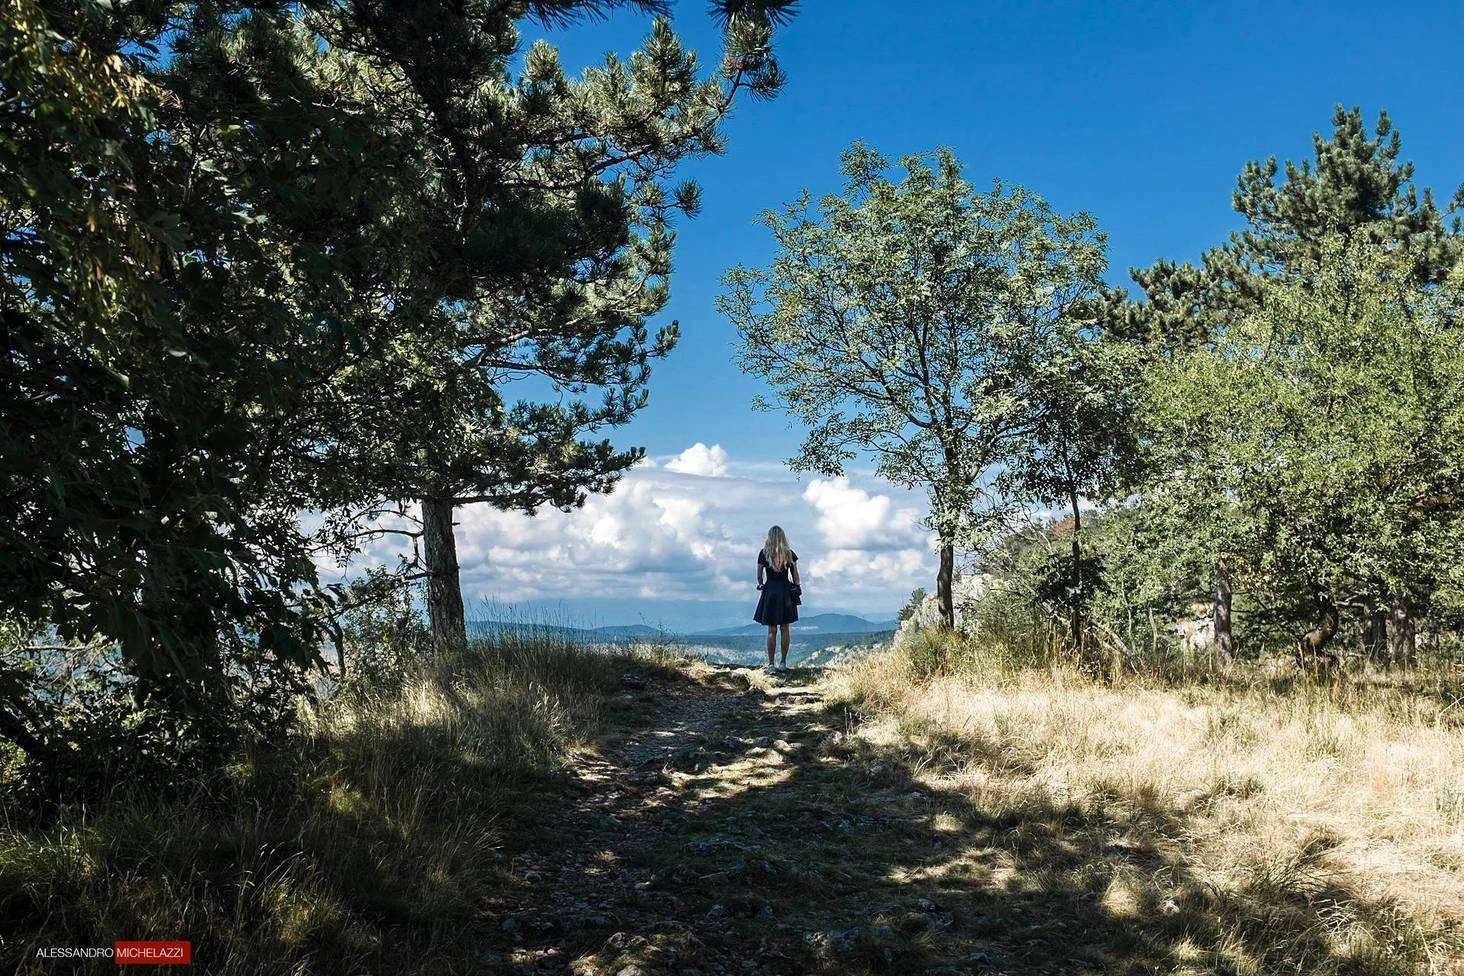

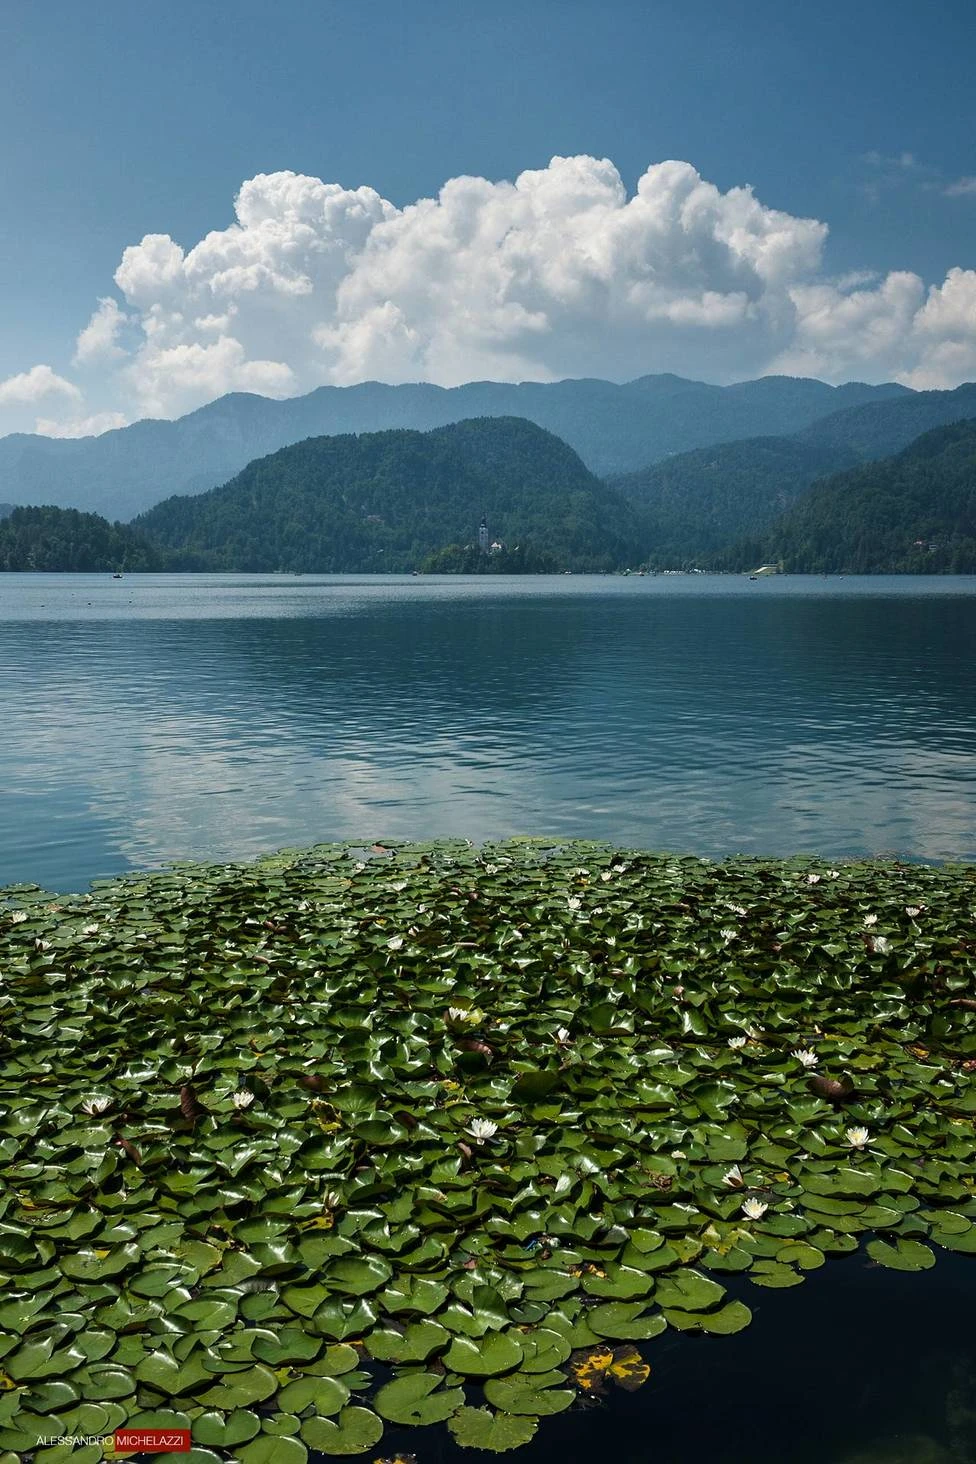

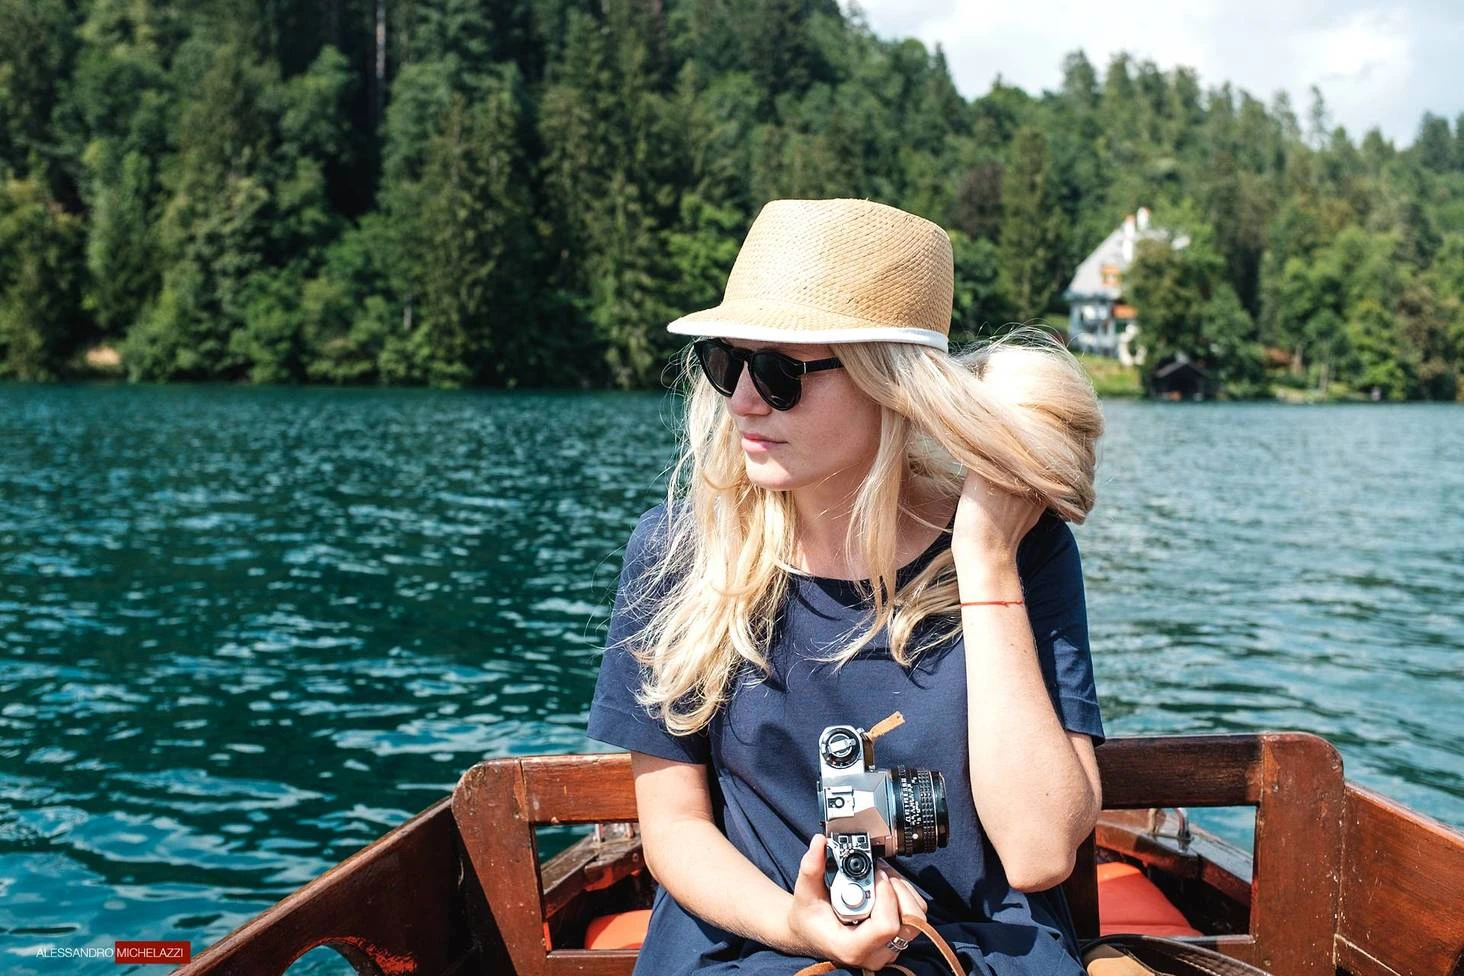


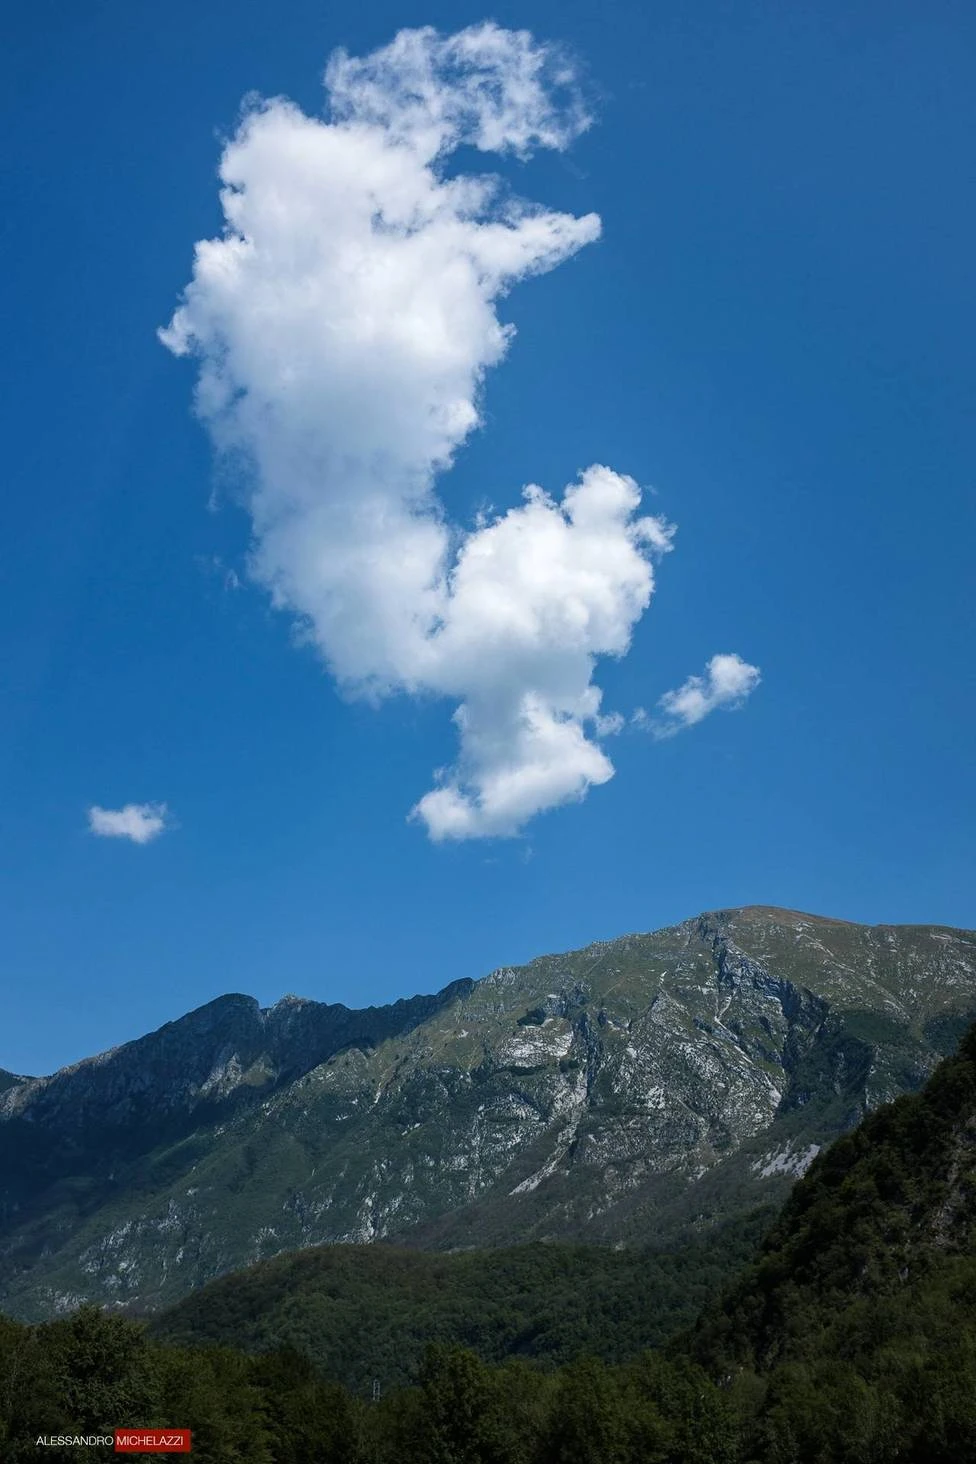


Equipment used in this article
For those most curious about the photo/video equipment I’ve used in this article to produce the photos above, here’s a list with referral links to help the business. Thanks for your support! ❤️



Leave a Reply